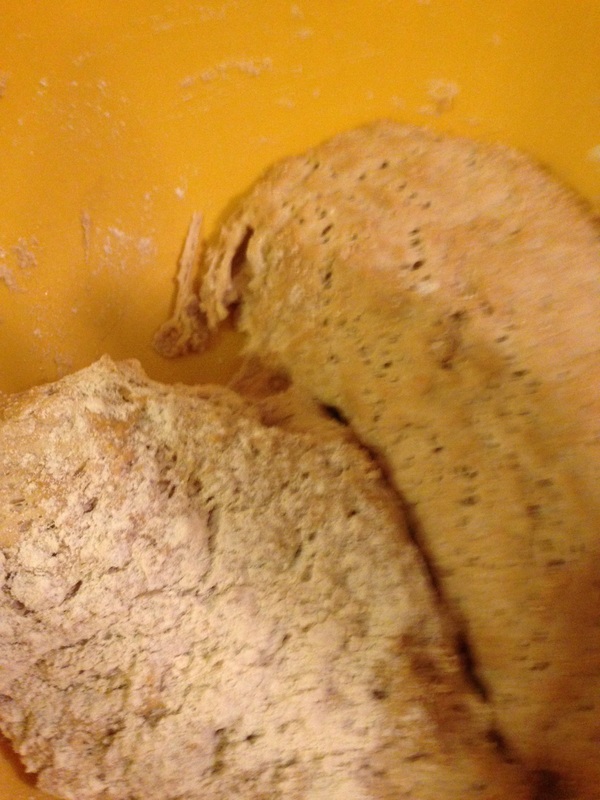
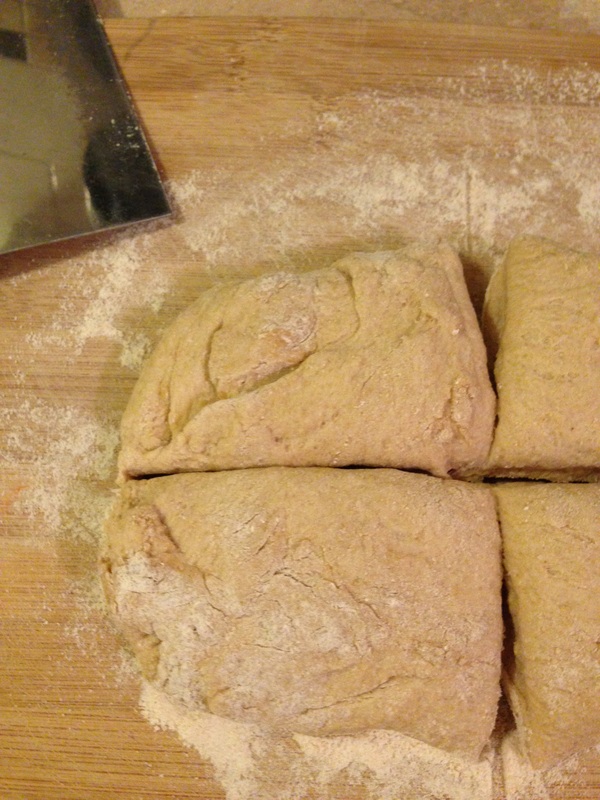
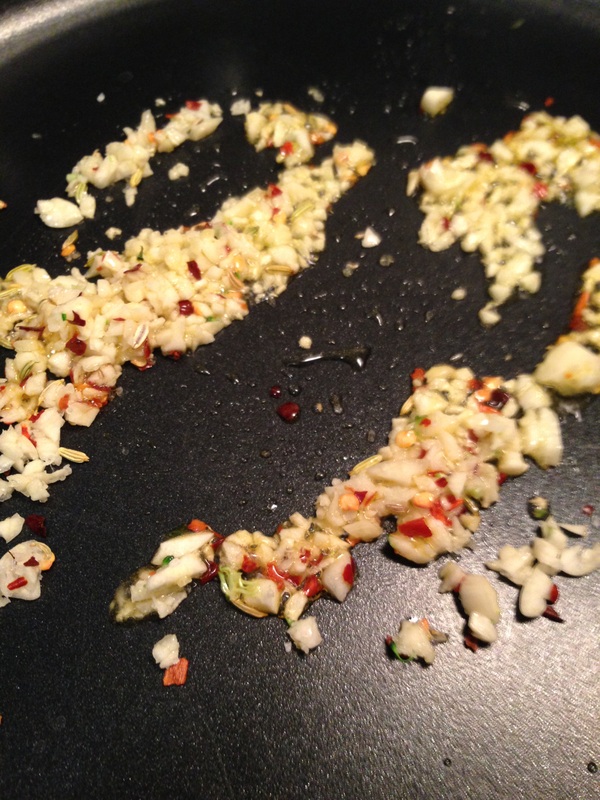
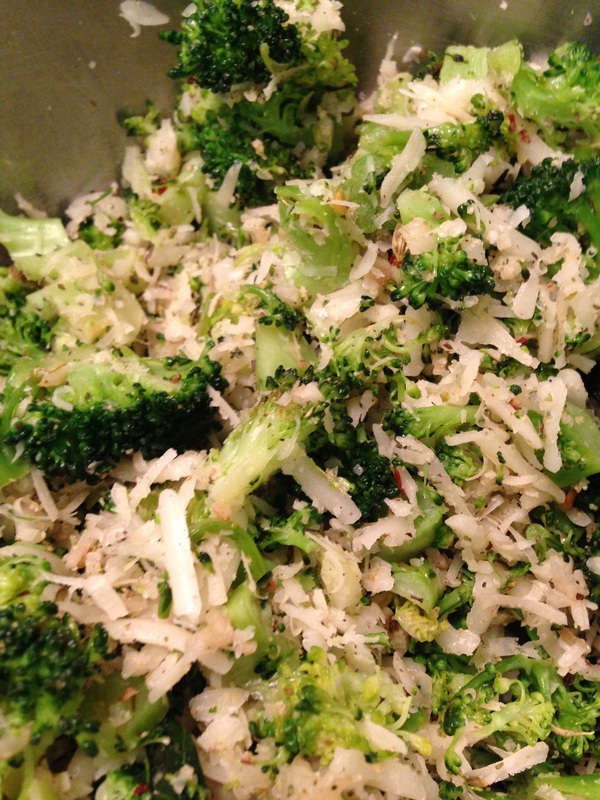
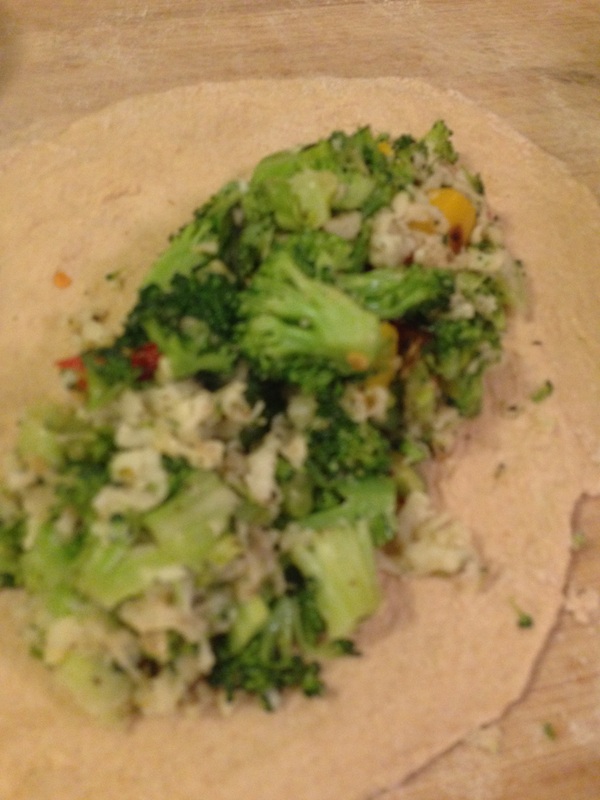
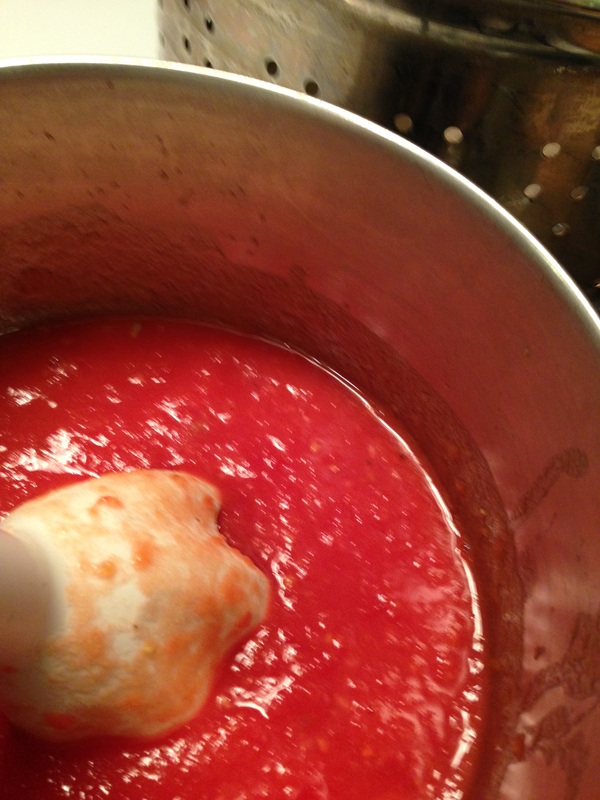
 Today's recipe is definitely "veganish"--the version you see above is not vegan because I used actual cheese, but you could easily veganize this one with little trouble. Simply swap out the mozzarella with Daiya or some other vegan shred and the Parmesan could be swapped out with a vegan parm (you can even make your own using FatFreeVegan's Almond Parmesan recipe). There are lots of recipes out there for vegan ricotta cheese and mozzarella, as well as Parmesan. You could even go with a Pangrattato AKA "Poor Man's Parmesan" (see this favorite that I've veganized in the past and will again sometime on this blog for a fancy breadcrumb substitute for the Parmesan). This is a recipe in three parts. I made a whole wheat crust from my adaptation of the no-knead bread dough from Healthy Bread in Five Minutes a Day, which has the Master Recipe posted online. This recipe calls for a mix of AP and whole grain flour, but my adaptation is all whole wheat (the softer, white whole wheat). The small amount of added oil and sweetener help soften the texture. I use this for pizza crust (I generally get two crusts out of the batch of dough below, but if you're into deep dish, your mileage will vary). I also make pitas with it (oven temperatures and dough prep make a difference, but that's a tutorial post). I also want to note here that this would normally have actual onion in the filling and the sauce, but I had one onion in my kitchen and when I cut it open it was nasty (there's always one in the bag, isn't there?). So, feel free to use onion if you have it and consider leaving out the onion powder, although I find that it does add some different type of onion flavor and sweetness. It's a handy pantry item to have. Virtually no knead bread Adapted from Healthy Bread in Five Minutes a Day 3 3/4 cups White Whole Wheat Flour* 2 Tablespoons of Vital Wheat Gluten** 1 Tablespoon of active dry yeast*** 1.5 teaspoons (1/2 T) of salt 2 cups warm water (not hot--don't kill your yeast!) 1 Tablespoon agave, honey, maple syrup, or sugar 1 Tablespoon extra virgin olive oil Put the dry ingredients in a bowl. Stir the wet together in your mixing cup (I often dissolve the salt in there too). Stir the wet into the dry. I generally use a spoon for this, just making sure I stir until all of the loose flour is worked in. I have been known to grab the dough and roll it in the bowl to get the last bits. You'll have a somewhat shaggy dough that seems too soft. It's not. Cover it with a kitchen towel or with plastic wrap and leave it alone in a warm spot in your kitchen for two hours or until doubled. As you can see in the middle picture, the dough will show air pockets when it's ready to go. *If you have a Kroger nearby, their brand is awesome and about 1/2 the cost of King Arthur and slightly less than Gold Medal. If I have a choice between KA and GM, I go with KA, even though the price is higher. The texture is lighter. I would not go with all regular whole wheat here (the old-school kind) just because of the texture. White whole wheat has the same fiber and nutrient density of whole wheat with a much lighter texture. I use it in place of AP flour these days. **Vital wheat gluten is the protein part of wheat flour. It's what seitan is made of! It is also used in a lot of commercial baked goods as it not only helps ensure a better structure to the bread but it also extends shelf life. Obviously, if you are gluten intolerant, this recipe is not for you. ***I prefer SAF Instant Yeast or Bob's Red Mill Active Dry Yeast. I keep mine in a jar in the refrefrigerator. If you buy single packets of yeast, this is a bit more than a single packet, but less than two packets. I would go with one packet and simply extend the rising time. If you bake a lot, though, I'd say get the big bag of yeast. It's cheaper and I get better results from it. It lasts a good while in the refrigerator or freezer. Calzone Filling 1 teaspoon of olive oil 2 cloves of minced garlic pinch of crushed red pepper pinch of fennel seed pinch of salt Put the olive oil in a non-stick skillet and heat the spices and garlic in it until fragrant. Then, add: 4 cups chopped fresh broccoli (or frozen if that's what you've got) 2/3 cup to 1 cup of diced bell peppers in color(s) of your choice (these can be frozen to, if necessary) 2 Tablespoons of water Stir this around a bit and cover. Let steam for approximately 5 minutes. Allow this to cool and add to a mixing bowl that contains: 4 ounces of shredded, part skim mozzarella (or vegan sub) 1 ounce (1/3 cup) shredded Parmesan cheese (or vegan sub) 1 t. garlic powder 1 t. onion powder 2 t. Italian seasoning Salt and pepper to taste While this cools and your bread dough is doing its thing, make this simple marinara: Olive oil for the pan (1 teaspoon or less) 2 cloves minced garlic (I know, I can't use just one) pinch of fennel seed pinch of crushed red pepper 1 Tablespoon of onion powder 1 teaspoon garlic powder 1 Tablespoon of Italian seasoning 2 cans of diced tomatoes and their juice 2 Tablespoons of balsamic vinegar (get something that is at least as good as Pompeian brand, but you don't have to use your crazy expensive stuff) Saute the garlic, fennel and red pepper with a little salt like you did before. Once that is fragrant, throw in the tomatoes and hit it with an immersion blender (you can see mine above). If you don't have an immersion blender, puree the tomatoes first, then add to the pan. This results in a slightly chunkier texture than just opening a can of tomato sauce, but if that's all you've got, make do. Add the dry spices and vinegar and taste it. Add additional seasonings (salt, pepper, more heat) and let this simmer on low for a bit. Put a lid on it so you don't get tomato splatter. Assembly To assemble, divide your dough in half, as shown in the picture above. Put half the dough on a floured board and divide this into fourths. Roll each ball out into an oval and place approximately one cup of filling along the inside. You can kind of shape this where you want it on the dough. Pull over one side, gently and tuck the edges. Place on a greased baking sheet. I got five calzones out of this recipe, but you may be able to get all of the filling in just four, depending on how thin you roll out the dough and so on. Five is a lucky number, though, and who doesn't want an extra calzone to split later? For number five, I just took my second blob of dough out, divided in fourths, and balled the 3/4s of dough together and put in a zip lock bag that went in the fridge. Now, anytime this week or so that I need a small baguette or some breadsticks, I can just use that dough for that. Awesome, huh? Spray with a little olive oil and cover with your kitchen towel. Let rest for 20-30 minutes as you preheat the oven to 400 degrees. Bake for 30 minutes. 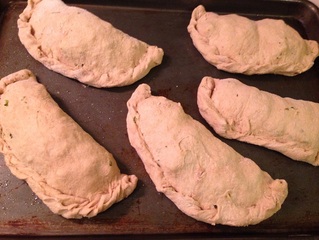
1 Comment
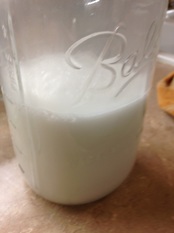
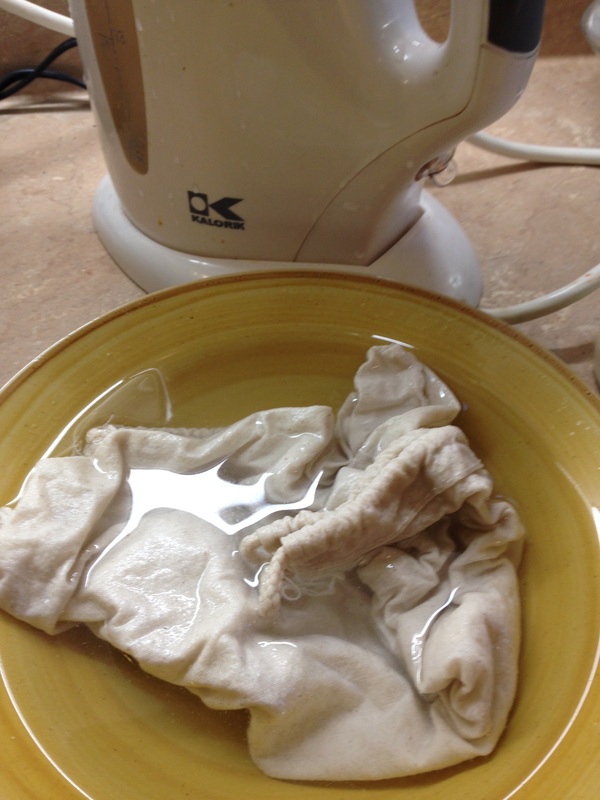
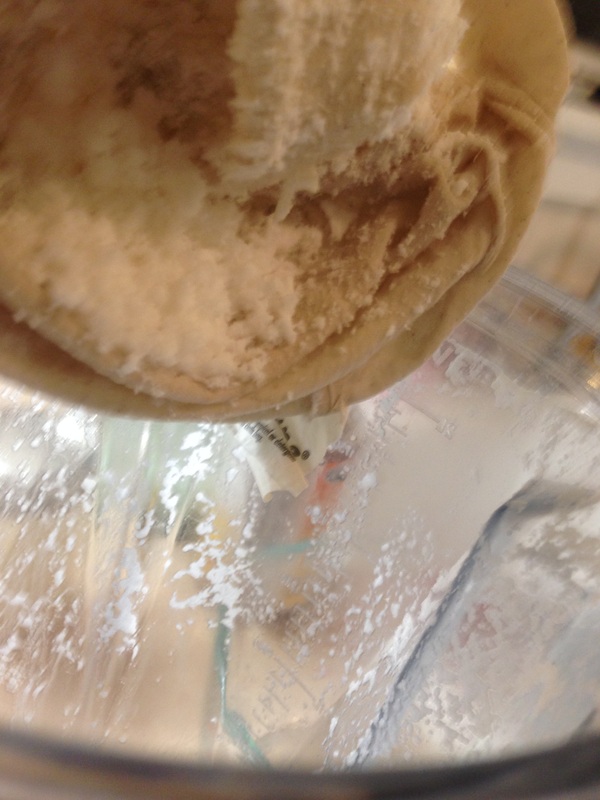
I love coconut milk for cooking, but it is so expensive by the can. What you'll learn to make from this tutorial is more akin to the "light" coconut milk in a can than it is the full tat canned version. You could easily cut back on the water to make a fattier version, but this version works great in curries or for baking. Here's what you need: 1 cup unsweetened shredded coconut 4 cups filtered water a nut milk bag (paint strainer bag, clean kitchen towel, whatever works) Blender That is it! Obviously, you can add sweeteners (vanilla and some whole dates, for instance if you want a drinkable, cereal ready milk).  The process I use here is to boil the water and then measure out three cups to add to the one cup of coconut. Just let it hang out there until the water is fairly cool. While that is hanging out, I soak my strainer bag in filtered water (see below). I do this not only to make the bag more pliable but also in hopes of getting rid of any residue that might linger from the last use or the last run through the washing machine. I then throw the cooled coconut and water mix in the Vitamix and ramp it up to ten then to high for a count of 60.  I'm a messy cook, so I put my bag in my jar that I'm using to store the milk. Pour into the jar and "milk" the bag. I just gather the top and start twisting. Since the bag is in the jar, there are no splatters here as you strain the milk. Dump the pulp back in the Vitamix. Add another cup of water and give it another run through and strain this. You'll wind up with very little pulp, maybe a 1/2 cup, once you've strained it well. I've dried the pulp at this stage and ground it into coconut flour, but I have yet to experiment with using it. You can always compost it. So, there you have it--my basic coconut milk for cooking. I use this version in curries, stews, and cornbread, as well as in coconut rice. I have made a a cup or so at a time and left it unfiltered for use in coconut rice (blending well, adding water to bring to two full cups to cook one cup of rice in the rice cooker), and found that it works fine that way with no waste (the leftovers were even better than the first run straight out of the cooker).
I also make almond milk in much the same way (same proportions) and often make oat milk for baking that is lower in fat. With the oat milk, the water can be room temperature and I do a single run through and strain through a fine strainer. Trey the dog loves to eat the oat bran pulp on his food and seems to think it's a treat. This is really embarrassingly simple, but it is also really good. It is more a life hack, I think than a recipe, but I'm going to stop apologizing and get to the actual dish.
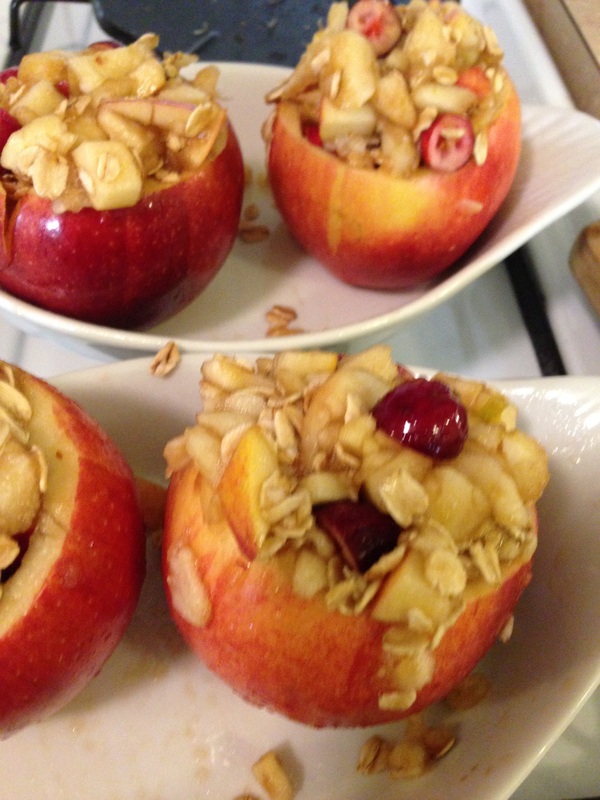
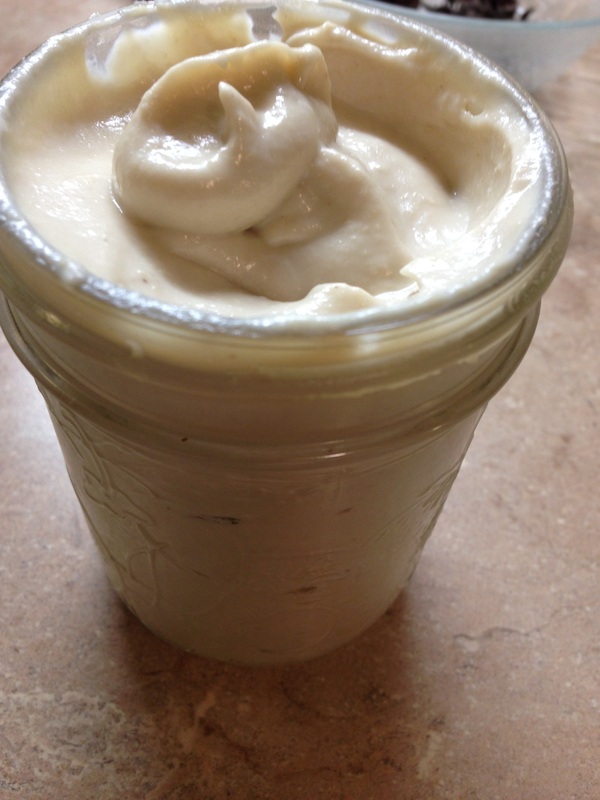
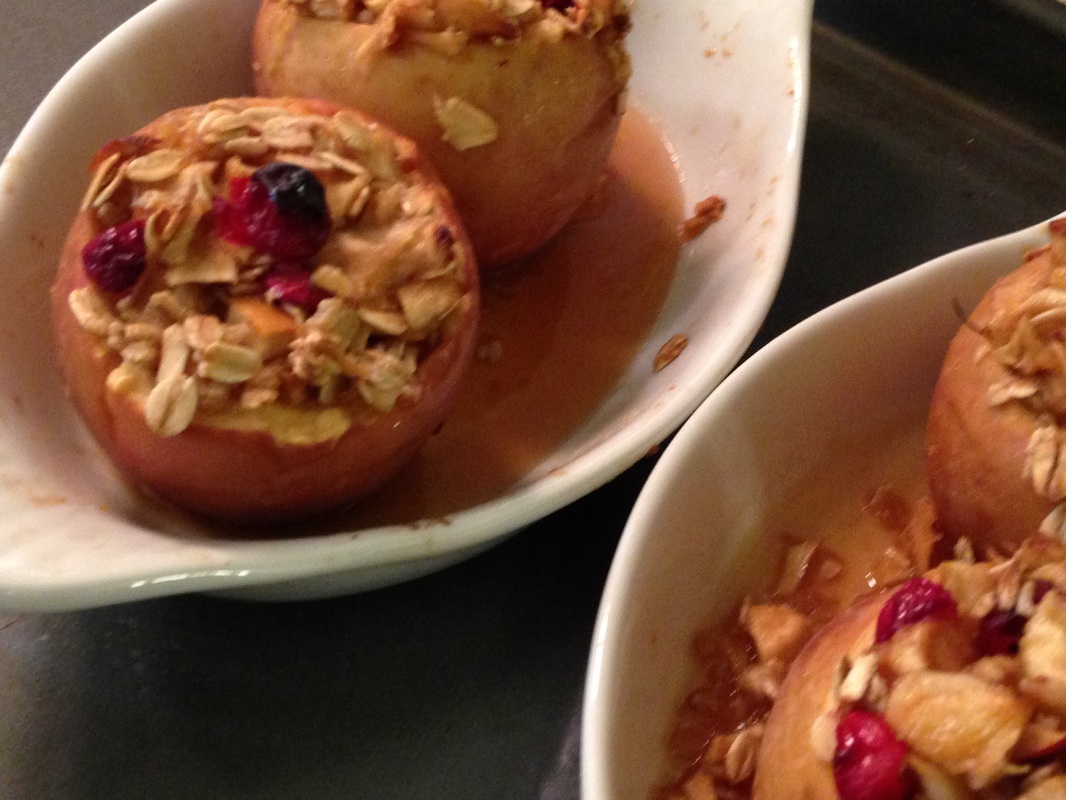
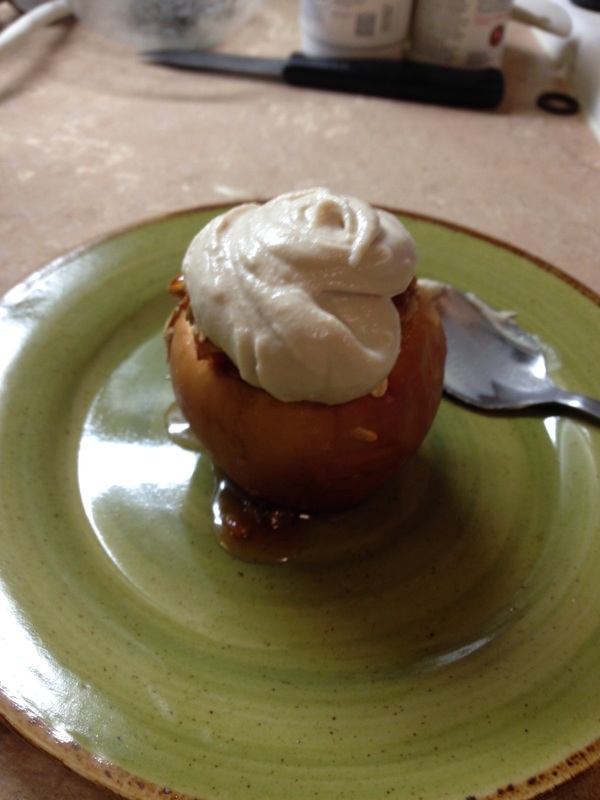
I decided today I should probably break up the cumin infused food run we've had so far and do something for dessert. There are just a couple of tricks here. You want to carefully scoop out the apple--making a borderline for your spoon to go in will help, and if you have a melon-baller (I do not) that will help you scoop them out as well. The key is to cut the tops off but leave the bottoms on and try not to break the shell. I have faith in you. And, if you mess it up, the easy solution is to say forget it and throw all of this in a casserole and call it a crumble. No one will care what it really looks like, as long as they like apples and cinnamon. Stuffed Apples Serves 4 4 apples of your choice. I think these were Gala apples from Aldi. Wash, cut the tops off, cutting up the good bits fine and throwing them in a mixing bowl. Scoop out the seeds first (so you don't have to try to core the other bits once you start scooping). Hollow out each apple, adding the apple flesh to a mixing bowl. To this, add 1/4 cup fresh (that's what you see above) or dried cranberries (cherries, raisins, dates, whatever you like can go in here. If you aren't into dried fruit, nuts work too), 1/4 cup old fashioned oats, 1/4 cup brown sugar. Stir. Now the secret ingredient: Fireball whiskey from the fine folks at Sazerac. Put in 1 Tablespoon to the filling mixture. This stuff tastes like Red Hots, folks. If you don't have the Fireball, you could simply throw cinnamon and nutmeg in if you like and a Tablespoon of whiskey, bourbon, rum, or some vanilla extract if you are on the wagon. Stuff your apples with the mixture and put in a baking dish. Bake at 350 for 30 minutes or so until the filling and core is tender. You can see how they look when done by comparing the before and after pictures above. See what I mean about this being loosey-goosey to the point it almost isn't a recipe? So, to make up for that, here's my current non-dairy topping recipe. I have been fighting with various versions of cashew cream and vegan whips that take three kinds of plant based milk/nut milk, and while they all taste good, I was curious as to how simplifying things might work. If you don't want to use powdered sugar (many brands are not vegan--don't ask why sugar is not vegan. If you don't already know, you probably don't want to. If you think you want to, Google it. I already broke Stacy's heart one day in Whole Foods when she asked innocently, "Why does it say vegan sugar? Isn't all sugar vegan?" I'm not going to break yours today. Alternatively, you could Google Chocolate Covered Katie's vegan powdered sugar recipe. I just used what's in the cupboard. Easy Cashew Cream 1 cup raw cashew pieces, soaked in boiling water for at least an hour. 1/2 teaspoon of vanilla 3 Tablespoons of powdered sugar 3 Tablespoons of cold water When the cashews are good and soaked, drain and rinse briefly. Throw those in your blender or food processor (Vitamix, Blendtec, Ninja, whatever floats your boat), and start by whirling the drained cashews by themselves, scraping down the sides. Add the other ingredients. Whirl it up some more. You might want to start with one Tablespoon of water at a time until the consistency is what you like. Results may vary based on machine, humidity, and whether you are holding your mouth right when you blend. 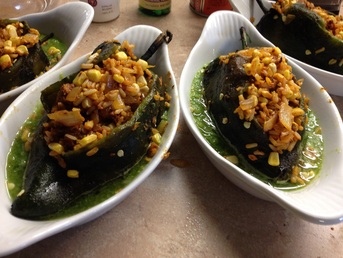
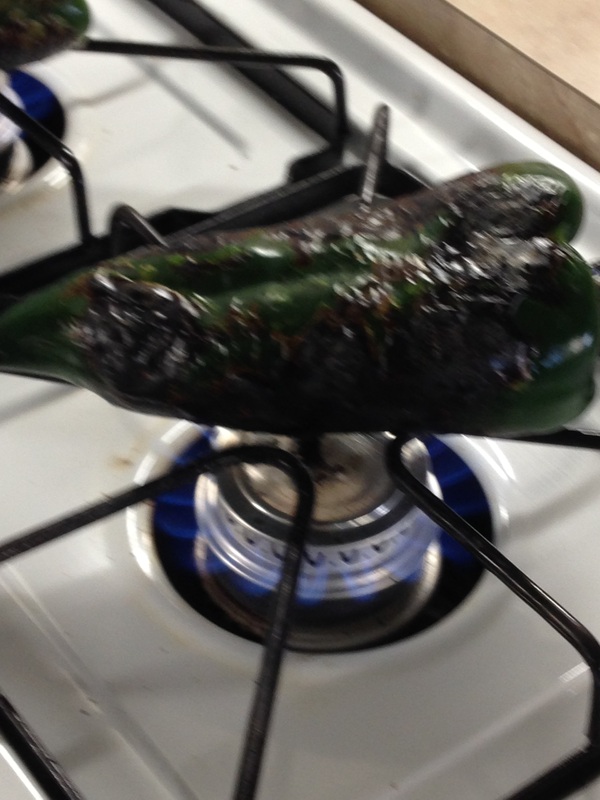
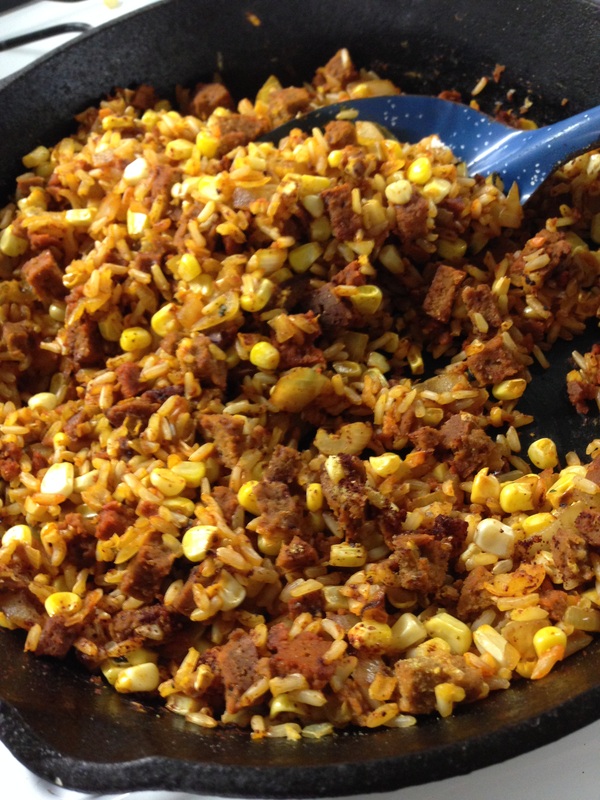
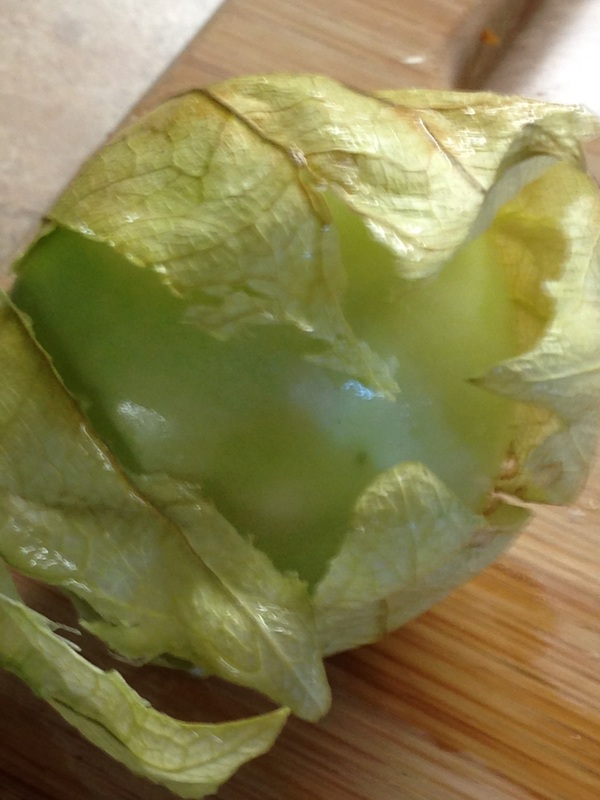
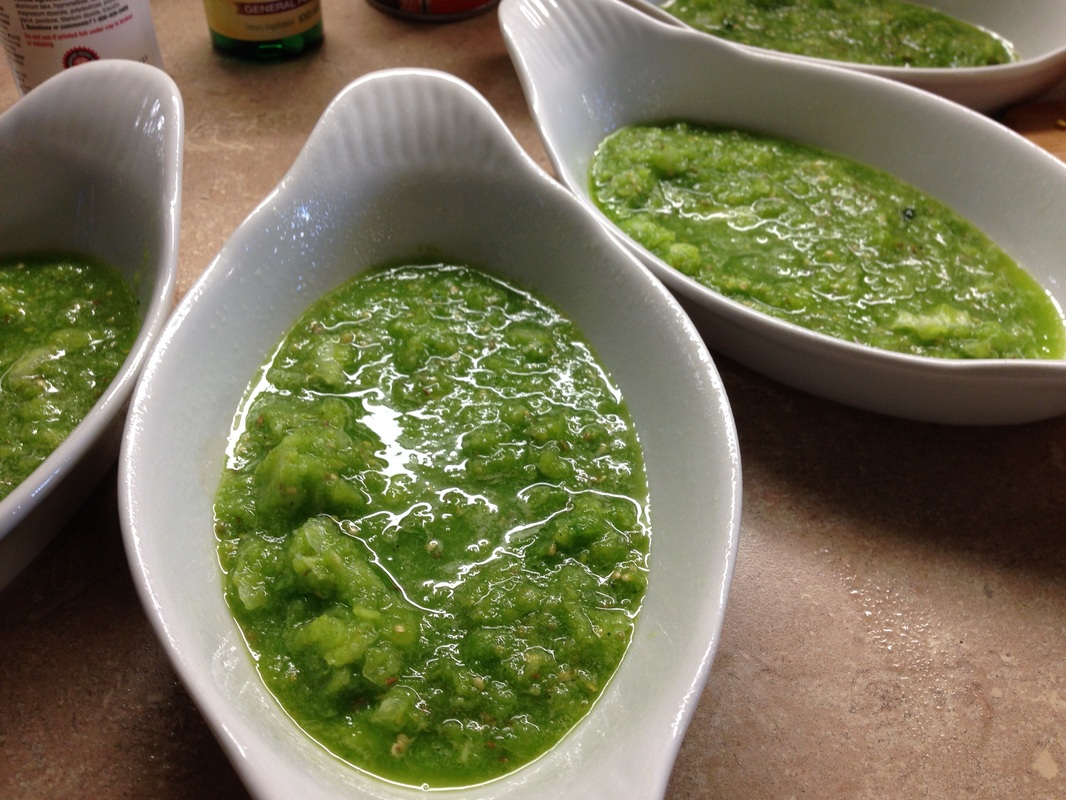
Stuffed Roasted Poblanos with Salsa Verde Serves 4 4 Poblano Peppers, roasted You can do this on a gas burner (see below). You can also opt to do this in the broiler. You want them charred well, then let them sweat (I put them in a heat safe bowl with a lid to sweat and cool). Peel them when they are cool enough to handle. You can let them hang out while the rice cooks and while you are prepping the filling. Filling* 1/2 cup brown rice (dry, uncooked measure). 1/2 onion, diced 1 clove minced garlic 1 packet of Goya Sazon with Azafran (optional) 1/2 cup corn kernels, frozen, fresh or canned Chili powder, salt, pepper to taste 1 chorizo style or andouille style sausage link Cook the rice in one cup of water. When the rice is done, start by sautéing your onion and garlic. Quarter your sausage and then dice it. Brown the sausage bits and then add the cooked rice, corn, and seasonings. You may want to add a bit of water if your mix is pretty dry and let things marry in the pan a bit. *Notes on the filling: (Vegan Dad's andouille is good, although I don't put in oil when I make mine. That's the sausage used here). You could use any packaged sausage here, or you could go with cooked beans (black, pinto, whatever). TVP would work well, too, in a pinch. On the corn, a good sized ear is what I used, just cutting the corn off the cob. I always have corn in the freezer, though, for when I don't have fresh and that would work fine here. You wouldn't need to thaw it, just throw it in the pan. Tomatillo Sauce 1 lb fresh tomatillos, husked and rinsed, then quartered 1 small bunch of cilantro, rough chopped (If you don't like or can't tolerate cilantro, parsley will do) 1 seeded jalapeño, cut into chunks 2 cloves garlic, peeled and rough chopped 1 t. cumin Juice of one lime. Place all in a blender or food processor and pulse until it comes together. Taste and season with salt and pepper and more cumin if desired. To assemble, put 1/4 cup of sauce in the bottom of au gratin dishes or a cup in the bottom of an 8X8 inch square baking dish. Peel the peppers and cut a slit lengthwise, making a slight notch at the top so you can seed the peppers. Stuff each with filling and place in the baking dish. Bake at 350 for about 30 minutes to heat through. Serve with any remaining sauce on the side. Great with avocado if you like. 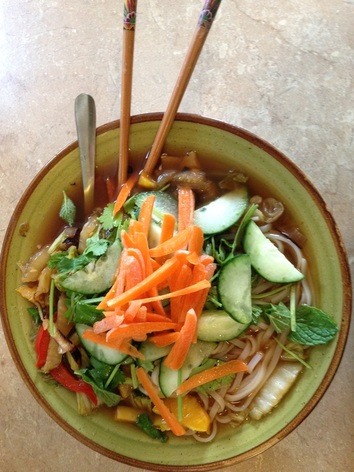 There are likely folks who will say you cannot have a real Pho with no meat involved at all. And, when those folks make me Pho, I eat it as they made it :) Even when they lie to me and tell me that their balls in their Pho are not testicles when they so obviously are (remember that trip to Rock and Bowl in Springfield, Reneé?). Van Lang's beef ball Pho is at least a bit less frightening, as the balls are sliced. I'm guessing you understand that I don't have a problem with Pho that has no meat. Here in town, Lulu's Noodle Shop is good, as is Vietnam Cafe over on Rainbow (I am pretty sure their broth is meaty). So, if you don't want to make your own, head to a local joint and see what you get. But don't be surprised if you wind up with a surprise or two in the bowl. One of the things I love about Vietnamese food (and Thai and Korean food, really) is the way that each bowl or plate is a marriage of contradictions: sweet, savory, hot, cooked, raw, smoky, salty, tart--it's all in there. Angel's Vegan Pho Adapted from Cooking Light's Turkey Pho Serves 4-6 people (how brothy your bowls are is key). 8 cups vegetable stock 3 Tablespoons low sodium soy (Tamari if you're gluten free) 2 Tablespoons of brown sugar 1 3 inch piece of cinnamon stick Several slices of ginger root (I use a good amount of ginger) In a tea ball or a muslin tea bag put: 5-6 whole cloves 4 star anise (I have used anise seed and even fennel seed here. The licorice notes are what you want). Simmer all of that together for about 30 minutes. Taste the broth and adjust seasoning if necessary. Take out the chunky bits (the cinnamon stick, ginger, and tea ball).  Rice noodles are customary. I usually buy wider Pho noodles, but this is what they had where I shopped last. My preferred brand is Three Ladies, but these were good. I don't follow instructions here. Instead, I boil them for about 7 minutes, rather than doing the hot water soak method. I cook 2 ounces per person, and I cook the noodles right before serving. In other words, if there are only two people having a bowl, I cook four ounces, regardless of the fact I have enough broth for more than two folks. Then, noodles are cooked for leftovers. Rice noodles tend to get too soft if you cook, chill and reheat. But, you just do what's best for you. 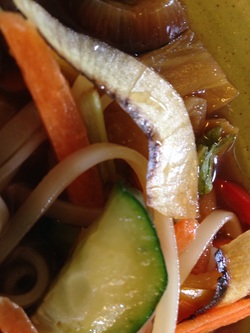 In addition to the broth and noodles, one other non-negotiable thing for me is charred onions in my Pho. You can grill the char on, but I like to slice the onions in slices and leave them intact, putting them into a scorching hot iron skillet until they are charred on both sides. Once that's done, I move them to my cutting board and slice the rounds in half, separating the strands. I throw them in the mix of whatever stir fried vegetables I'm using in my bowl. The version above has some red, yellow, and green bell pepper strips stir fried with some chopped Napa cabbage with ginger and garlic. In addition, when I reheated my broth and veggies today, I threw in a couple of handfuls of mustard greens. Anything you like could go in here, including proteins like tofu, seitan, soy curls, or even edamame. Mushrooms are great. 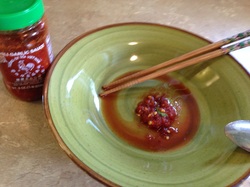 I also like to put my chili paste in the bottom of my bowl, so when I pour the broth in, I get a good mix. I put a little extra soy here, as well. As important as the heat, though, are the garnishes. Here, we've got thinly sliced cucumber, torn mint and cilantro, and julienned carrot up top. This gets "dressed" liberally with fresh lime juice. You're going to want both chopsticks and spoon here, unless you're with family and can just pick up the bowl. Every time I make Pho, it's a little different from the last version. Have fun with it by swapping out the vegetables you use.
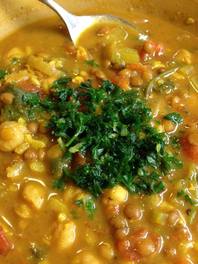 The above bowl of sunshine above is one of our favorite soups around here. In fact, we recently both said that we may even, if we had to, choose this soup over gumbo (gasp!). Thankfully, we don't have to choose.
Harira recipes are all of the internet, of course, and in many cookbooks (there's a vegetarian version in Crescent Dragonwagon's Dairy Hollow House Soup & Bread book, for instance, which I recently picked up in Lawrence when Beck and I went shopping there. Some recipes use noodles, others use rice, some have lamb, some have chicken. My version here is based on Emeril Lagasse's found here. All of the recipes that I've found, though, have some similarities--chickpeas and lentils in a gorgeous tomato and ginger laced broth. Want to learn more? Check out About.com's Moroccan Food page or Wikipedia's entry. My goals here were to make this faster and less processed than my usual. I started making this with seitan chunks (the Seitanic Log O'greatness worked well, as it has cinnamon in it and the flavors worked well here), then progressed to Butler's Soy Curls. One of my food goals this year, though, is to use fewer analogues and we'd been saying forever that we thought just upping the bean levels would do the trick--and it did. If you read some of the history, you'll find that there are a multitude of variations here. For instance, I've swapped out different types of lentils. Any lentils in your cupboard will do. I used green ones in this version as they hold up better and I wanted there to be plenty of variation in the textures. If you have meat or a meat substitute in here and the texture is more varied already, plain old brown ones work, as would yellow and red lentils. If you don't have a pressure cooker (thanks, Joe!), you want to plan a bit ahead and watch the salt level in the beans as they cook (salty liquids make it hard to get your beans tender, but the pressure cooker helps counteract that). I'd follow Emeril's soaking instructions if you don't have the pressure cooker or hot soak the chickpeas first by bringing them to a boil for 2 minutes, turning off the heat and covering them and letting them sit for an hour. Drain and proceed as if you had soaked overnight. Vegan Harira Adapted from Emeril Lagasse's recipe. Toss the following in your pressure cooker: 1 cup diced onion 1 clove minced garlic 3 ribs of celery diced 5 ounces chickpeas 5 ounces lentils 28 ounces diced tomatoes with their juice (canned) 2 teaspoons ground ginger root 2 teaspoons turmeric 1 teaspoon cinnamon 1 teaspoon ground pepper 6 cups of water or vegetable stock (I used my non-chicken broth from this magic recipe) 1/2 cup brown jasmine rice I set my cooker for 40 minutes, which was just about perfect. I did a quick release on the pressure, as we were hungry! When you are ready to serve, taste it, adding any spices you need, and the juice of 1/2 a lemon to the pot. Garnishes: Fresh cilantro Fresh parsley (I had some gremolata in the freezer that I used) Dried parsley stirred in works, too, in a pinch. Lemon juice Hot sauce Approximately 6 servings. 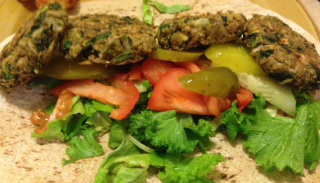 I'm not certain when we started having Crescent Dragonwagon's Black Eyed Pea Falafel for New Years Day, but it was some years back. We both love falafel and these patties are the perfect combination of greens, peas, rice, and cornbread. Above, you see them on top of raw mustard greens, tomatoes, pickles and some raw cucumber, all on top of a Flat Out flatbread. This recipe comes from The Passionate Vegetarian, which I got somewhat by accident. Years ago, I was a member of a cookbook club, the kind where they send you a postcard and you forget to send it back and then they send you a book. My officemate at the time, Dr. L, had a copy and told me I definitely wanted to keep this one. And, boy, was she right. I've since talked both sisters, Crochet Renee and Debbie, into getting their own copies. I think that this is one of those cookbooks that everyone should have in their arsenal, especially if they are transitioning from a SAD (standard American diet) to plant-based eating. Click below to order your own copy or to check out a sample. 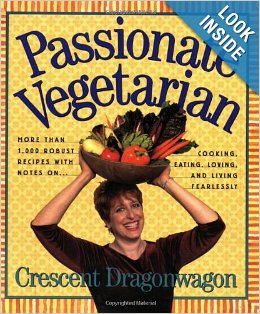 The falafel above is one of the most frequent recipes I make from this, but I've sampled many. Some of my favorites include crepes Mornay with broccoli and mushrooms, tempeh Tejas with a sweet-hot jalapeño glaze, Dr. Feelgood's chocolate cake, and potato-crusted summertime skillet. The book is huge, so there's likely to be something in there for you. Even if you aren't in the mood to cook, Crescent is a story-teller, so the book is a fun read, as well as being fun to cook from. I've had my copy for probably close to fifteen years, and I still have slips of paper sticking out where I've marked recipes to try. Every time I get in a cooking rut and am not sure what I want to tackle, I get this out and start browsing.
Not ready to invest in the book? Check out CDW's Deep Feast site, where she lists links to many of her recipes folks have blogged about. She's been featured in tons of publications, so you might have even read or made a recipe by her from Relish and not known it! 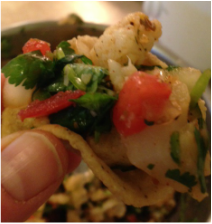 Today's dish is really simple: Cauliflower Ceviche. We enjoyed this last night, but are having the remains for lunch today as part of a salad. Here's how to do this one: 1 pound bag of cauliflower, thawed and chopped up (yes, you can start with fresh and blanch it, but I like the no waste, no fuss of frozen). 1-2 seeded chopped jalapeño peppers (or whatever pepper you prefer) 2 cloves minced garlic 3 roma tomatoes, chopped 1/2 finely minced onion (red is great but yellow is what's in the picture above) 2 limes, juiced 1 bunch of cilantro or parsley minced salt, pepper, cumin, and chili powder to taste. I use a lot of cumin. I also put in a bit of hot smoked paprika Stir it all together, taste it and add more spices if you want. This is also great with avocado thrown in or sweet bell pepper added. Serve with your chip of choice. Also great on a saltine. Below is a picture of salad made with the leftovers. On our New Years Day menu is Crescent Dragonwagon's New South Falafel made with cornbread crumbs, black eyed peas, greens, and rice. It's in the Passionate Vegetarian, and the recipe doesn't seem to be available online, so I'm not going to share the recipe, but will share pictures tomorrow. I'll be doing one day a week where I cook someone else's recipe and do some book review type post, and that'll be the first one! 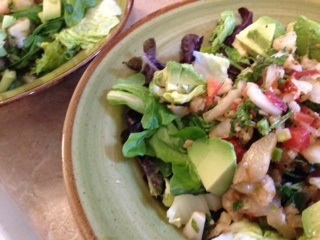 |
Who's dishing?Angel lives in Camden, Arkansas where she writes stuff and sometimes sends it out to other people to read. She used to grade papers, but not anymore. Check out her main site to see what she's up to lately. 
Archives
November 2017
Categories
All
|


 RSS Feed