|
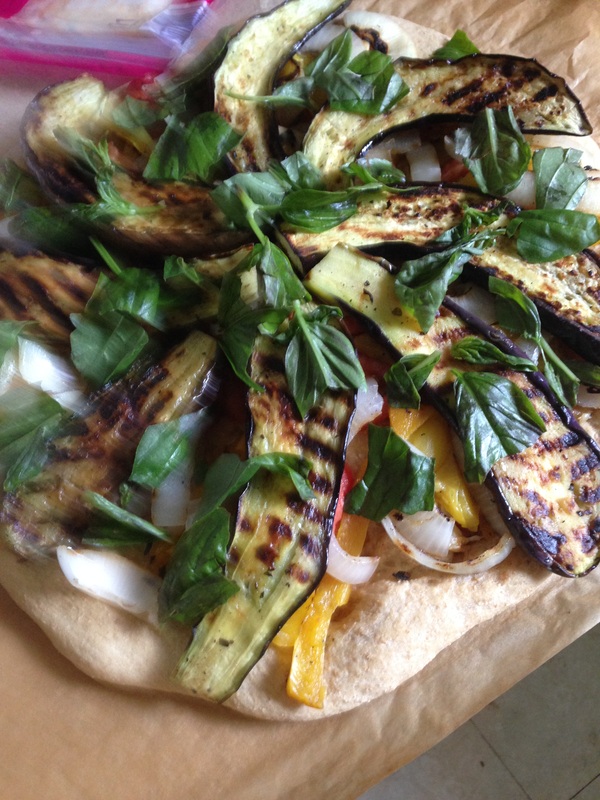
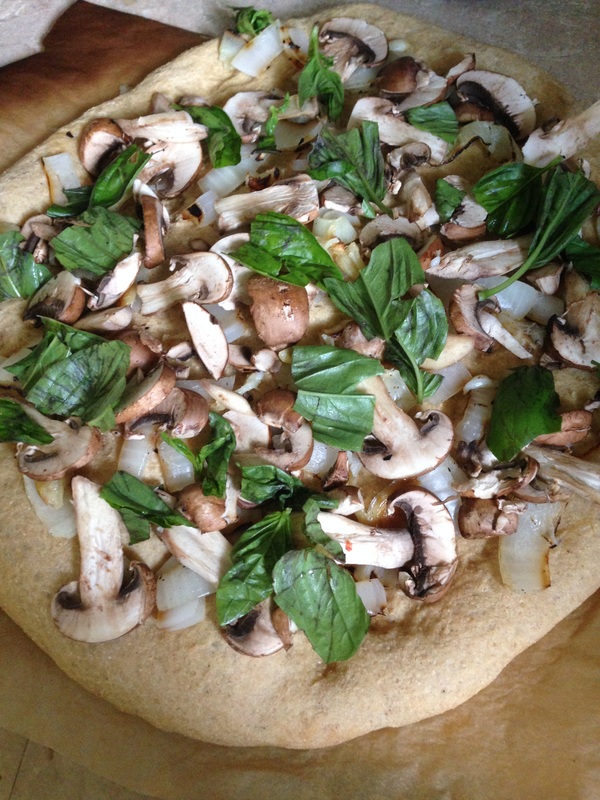
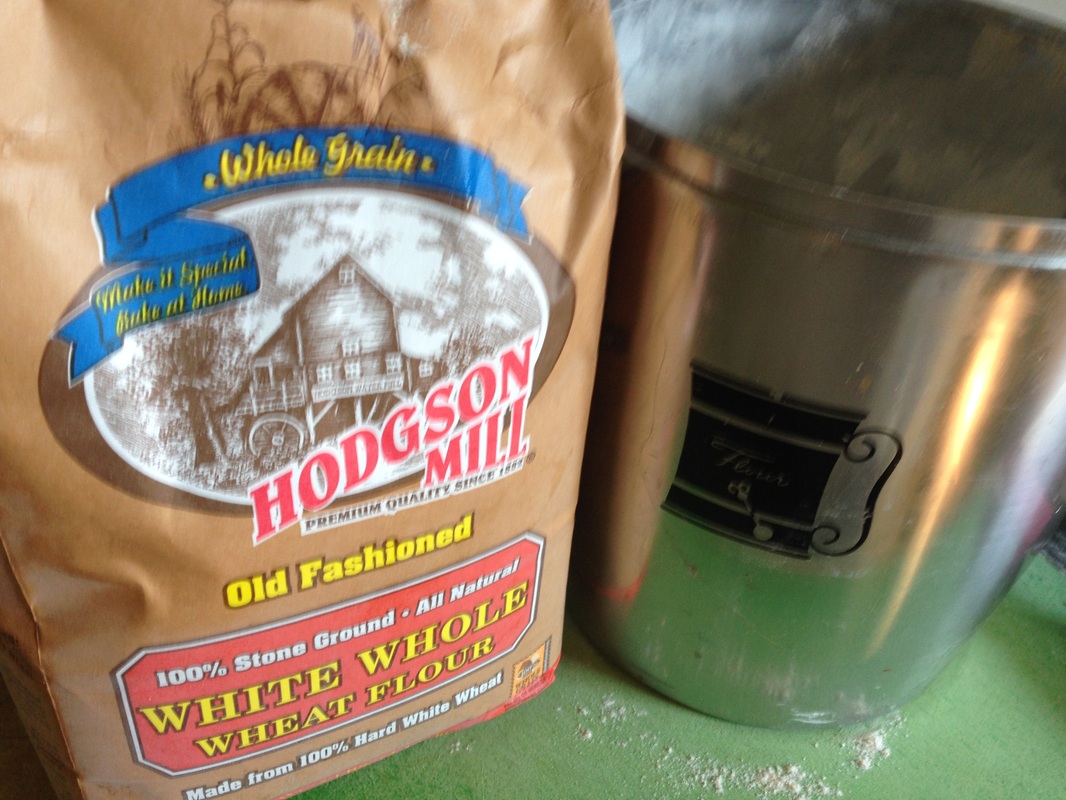
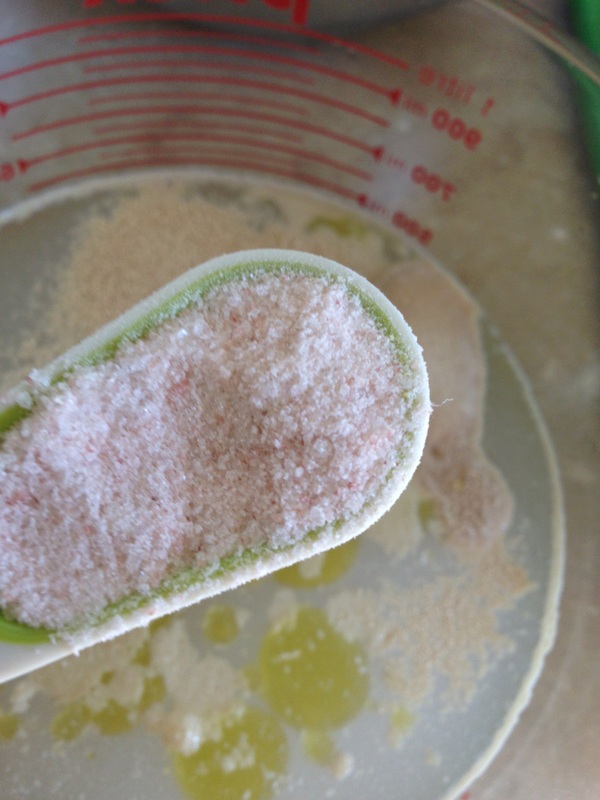
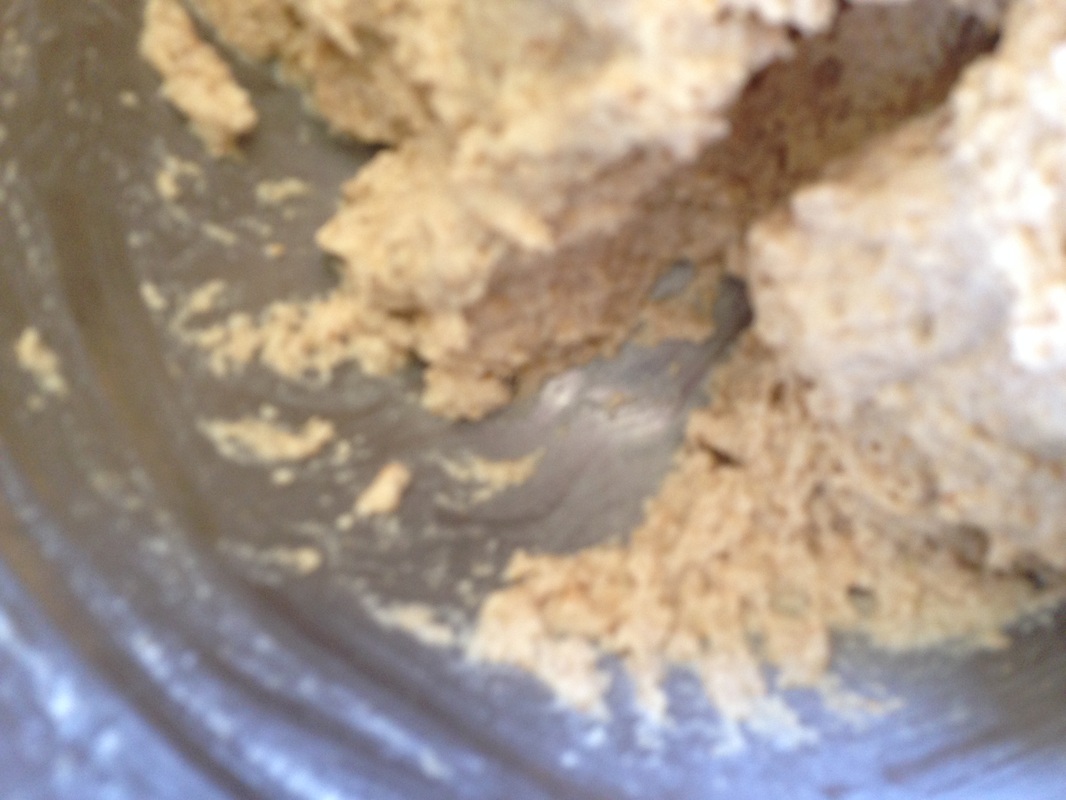
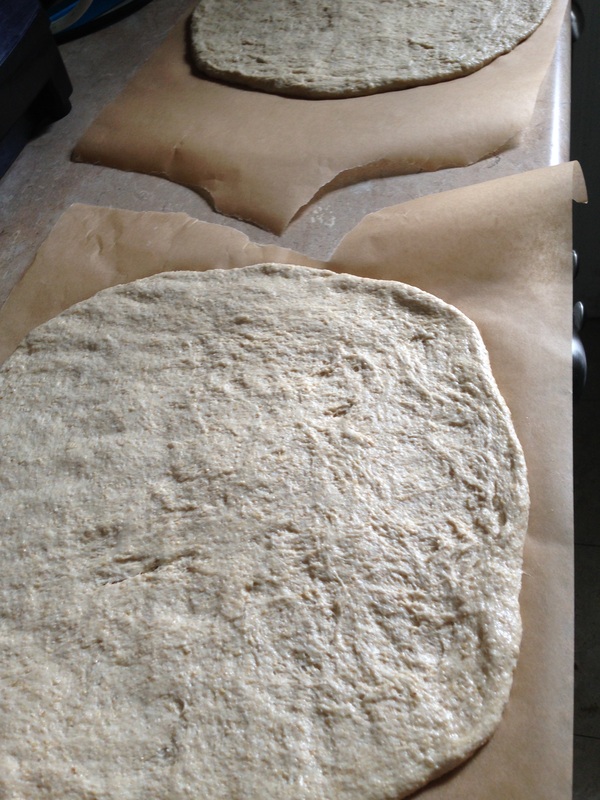
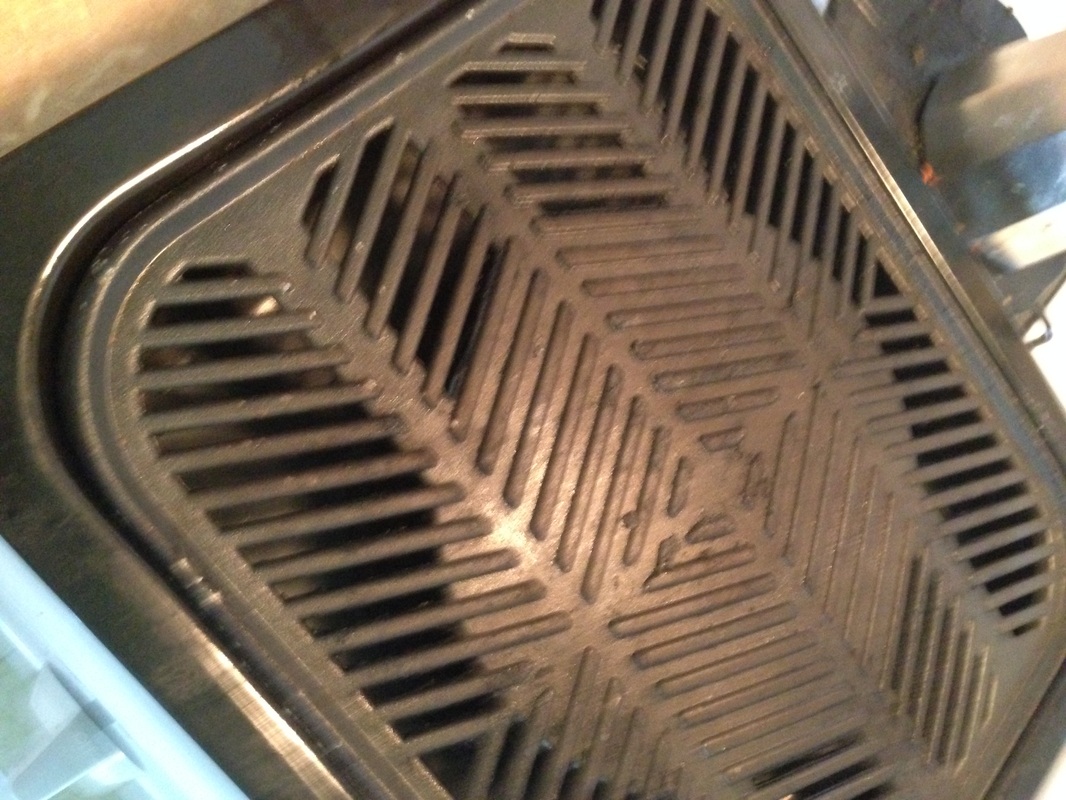
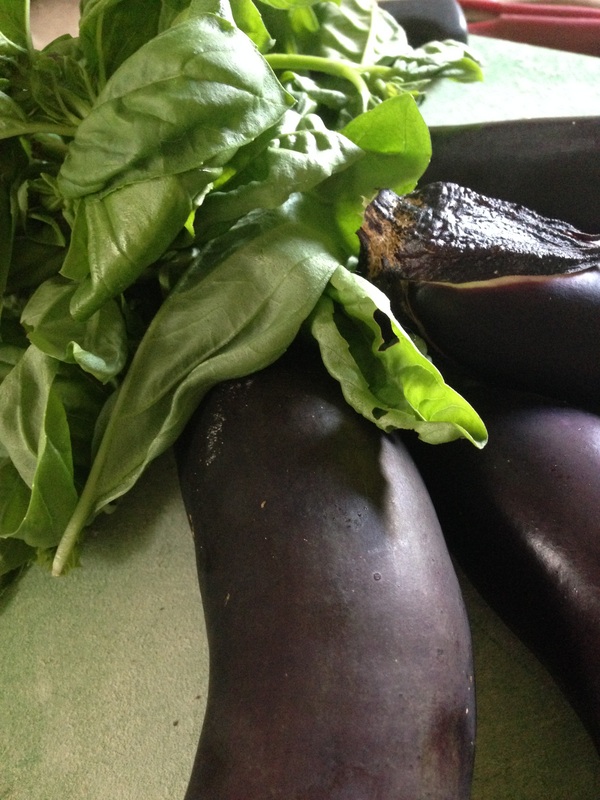
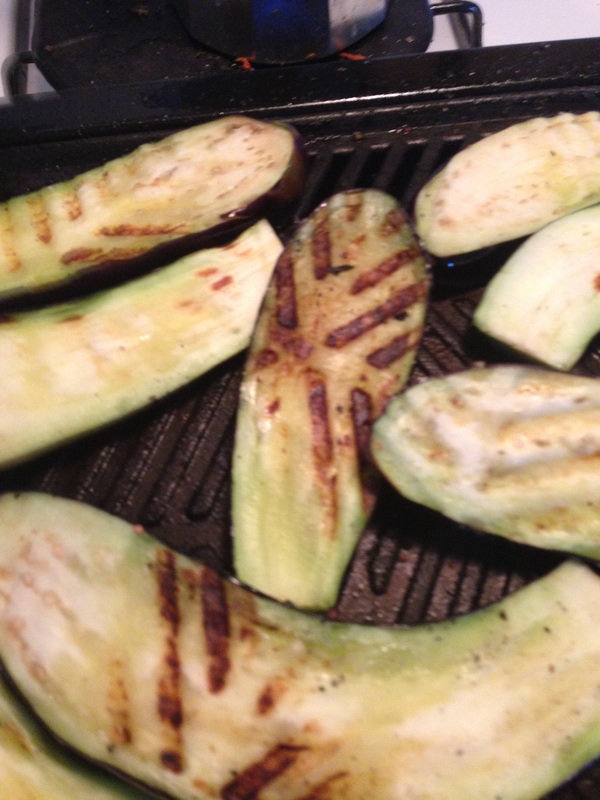
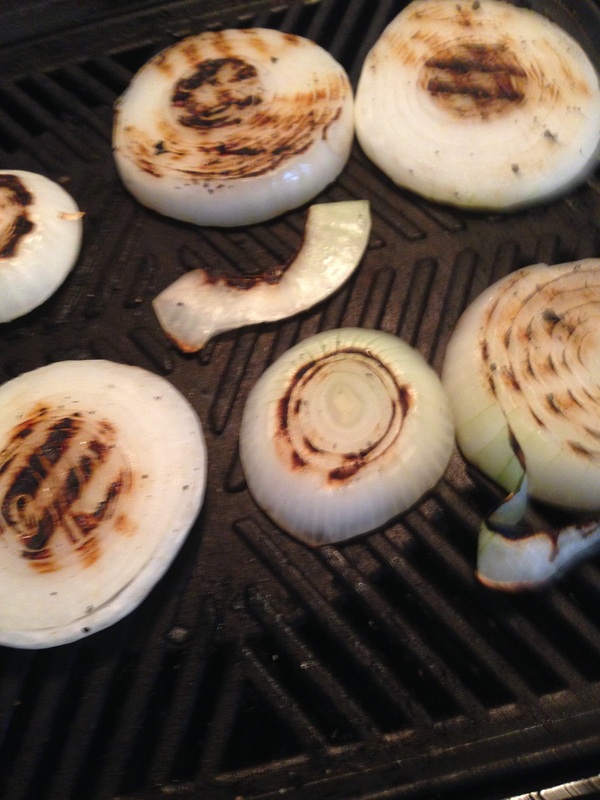
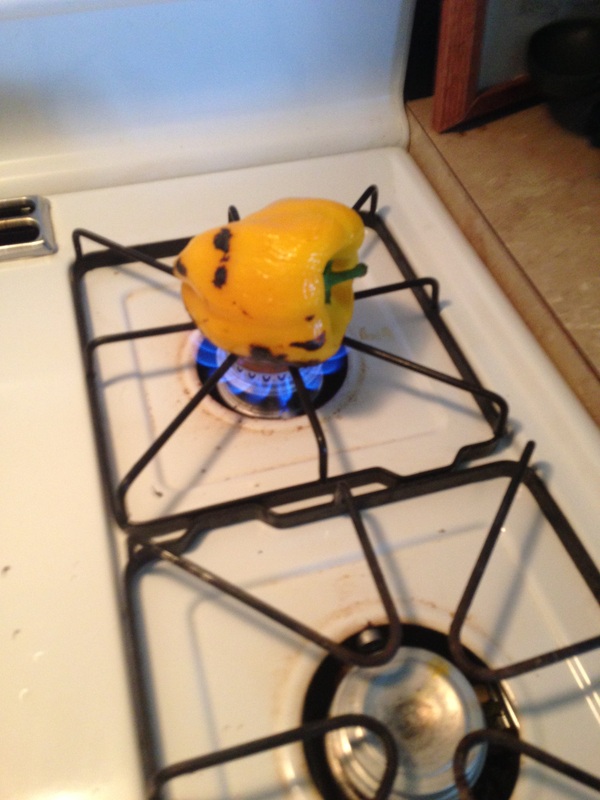
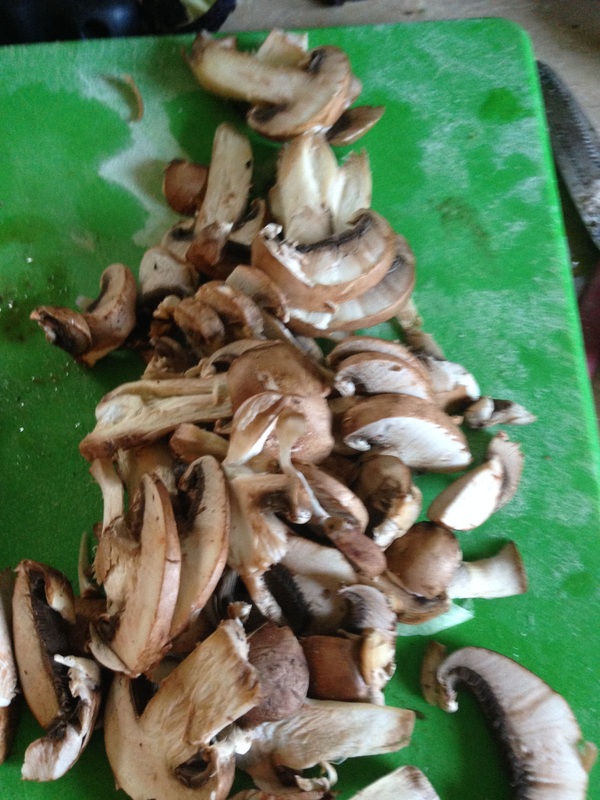
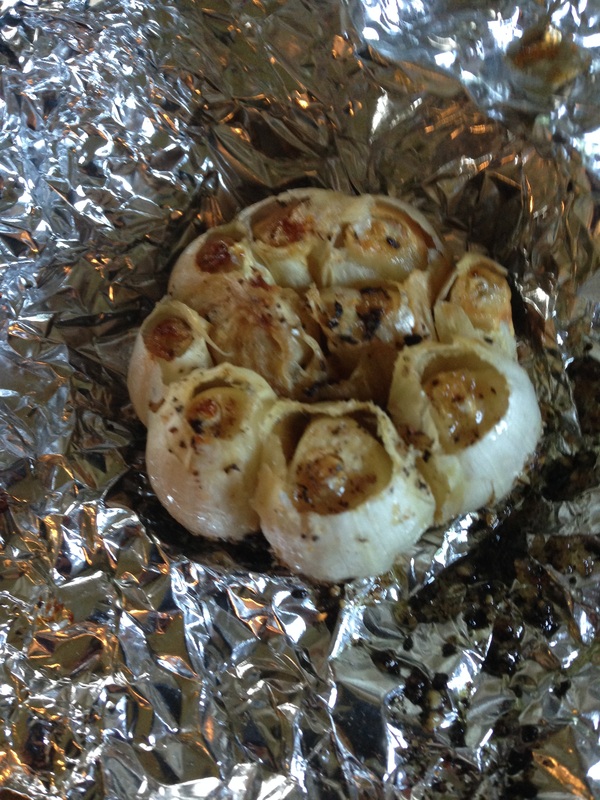
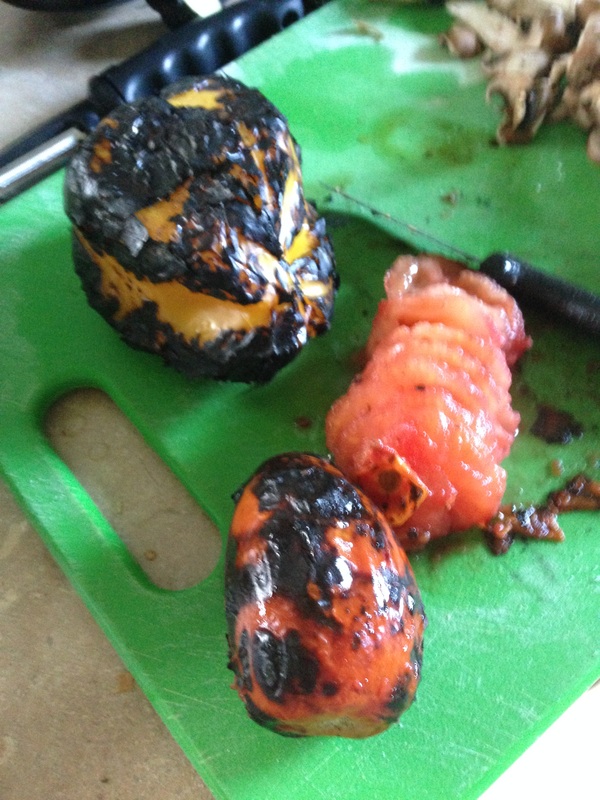
Our basil and eggplant are both doing well, and instead of a curry, I decided to make pizza. Not only did this allow me to get some grilled eggplant going, but it also helped me with my ongoing clean out. I had a bell pepper and a couple of Roma tomatoes that needed to be used, as well as about 1/2 a box of baby bella mushrooms that needed to go. For the crusts, I made my go to no knead dough. In a bowl, put: 3 and 3/4 cups white whole wheat flour 2 Tablespoons of vital wheat gluten In a measuring cup: 2 cups room temperature or slightly warm water 1 teaspoon of salt 1 Tablespoon instant yeast 1 Tablespoon of sugar 1 Tablespoon of extra virgin olive oil Once the sugar and salt are dissolved, stir the liquid into the dry. You don't have to knead this dough. As you can see from the third picture, the dough will be fairly wet at this stage. And that's fine. Cover the bowl with plastic wrap and let the dough rise for a couple of hours in a draft free space in your kitchen. To prep the dough, spread out two pieces of parchment paper. Split the dough in half. Oil your hands and take out one ball of dough, using your hands to press the dough out into a circle. *Note: If you don't want to make two pizzas, simply store the other 1/2 of the dough in the refrigerator for another time. You can also freeze it. Simply take the dough out of the refrigerator a good 90 minutes before baking it off if you refrigerate it. You can shape it cold and let it proof during that 90 minutes. If you don't have a pizza stone, you can simply use a baking sheet or pizza pan. Note, too, that the thickness is up to you--as the dough rests after spreading it out, it will poof up some, so keep that in mind. I love my grill pan. I bought the one above at an Asian grocery store in Jacksonville, Arkansas, but Amazon has one that seems like it is similar if you can't find one of these at your local Asian grocer. These are often used on top of the hot pot burners that use butane, and they are perfect on top of a gas stove, which I am fortunate to have. If you have an electric stove, a standard grill pan should work fine. Of course, if you have standard outdoor grill, that would work too. I also grilled onions and fire roasted the tomatoes and pepper directly on burners. (You can do this with a broiler if you don't have a gas stove or grill to do this on. For a post from Renee on how to do this in the oven, go here). When they were well charred, the pepper and tomatoes when under a stainless steel bowl to sweat for a bit. Then, I removed the charred skin. I chopped the onion roughly. I also sliced some mushrooms and roasted a head of garlic. For the garlic, all i did was cut the top off and remove the excess paper on the outside. I drizzled with olive oil and a bit of salt and pepper and wrapped it in foil. It roasted in the oven while the oven preheated to 450 for the pizzas. *Note: Save the garlic top and the skin of the onion when you peel it. Put those in a freezer bag for the next time you want to make vegetable stock. See Renee's post on this here. Once the pizza dough has had about 30 minutes to rest after you shape it, slide it into a preheated 450 oven for about 10 minutes. I have a pizza stone, so I par baked each for ten minutes on the stone (just leave the parchment paper under them). Top as you like, then bake for an additional 13 minutes. I put one on the oven rack and the other on the stone.
The mushroom pizza had roasted garlic, grilled onions, and sliced mushrooms, along with fresh torn basil. The eggplant pizza had roasted garlic, sliced roasted tomatoes, roasted pepper strips, grilled eggplant, grilled onions, and torn basil. These would be great without any cheese because the eggplant and mushrooms with the grilled onions provide enough texture variety and flavor that you won't miss the cheese. If you want cheese, try a little gouda on the mushroom pizza and some garlic and herb goat cheese on the eggplant pizza before all was said and done. Feta would be a good choice, as would mozzarella. If you want vegan cheese, go for it. If you don't want to cook the basil, just tear some on top before serving. Either way, it will be delicious.
1 Comment
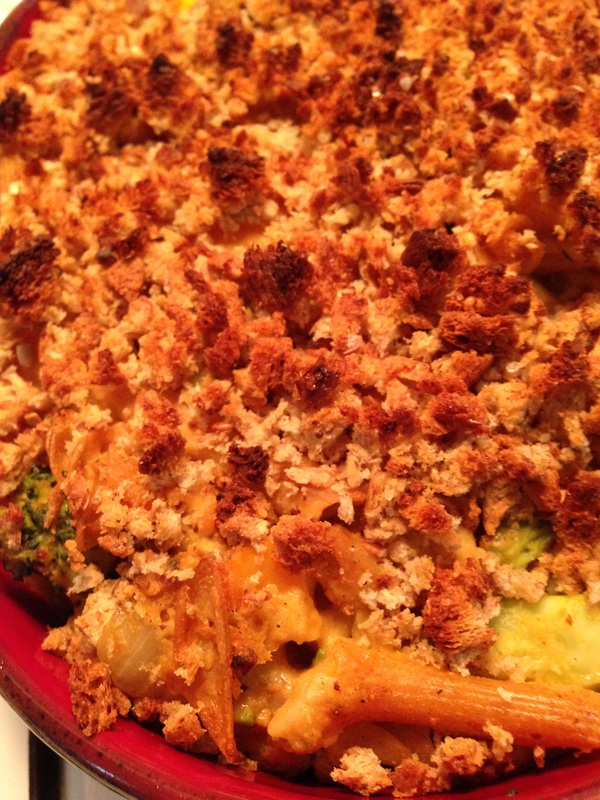
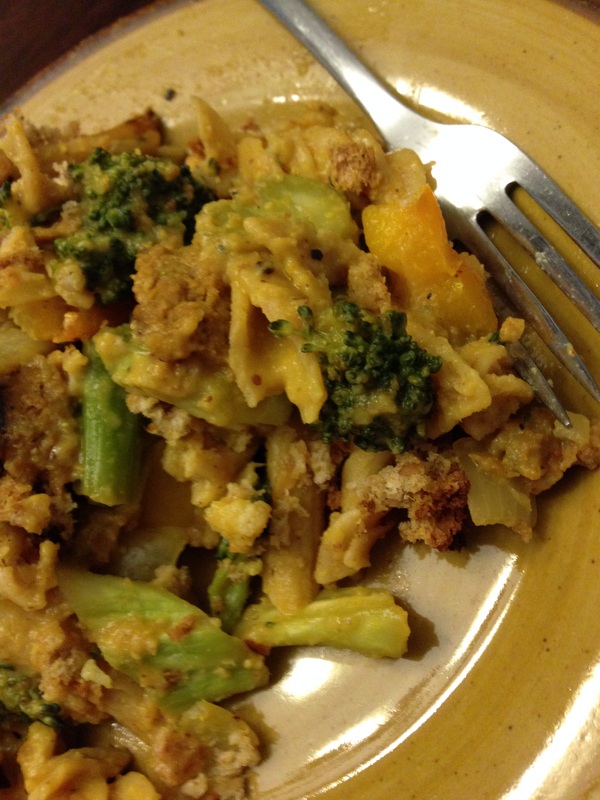
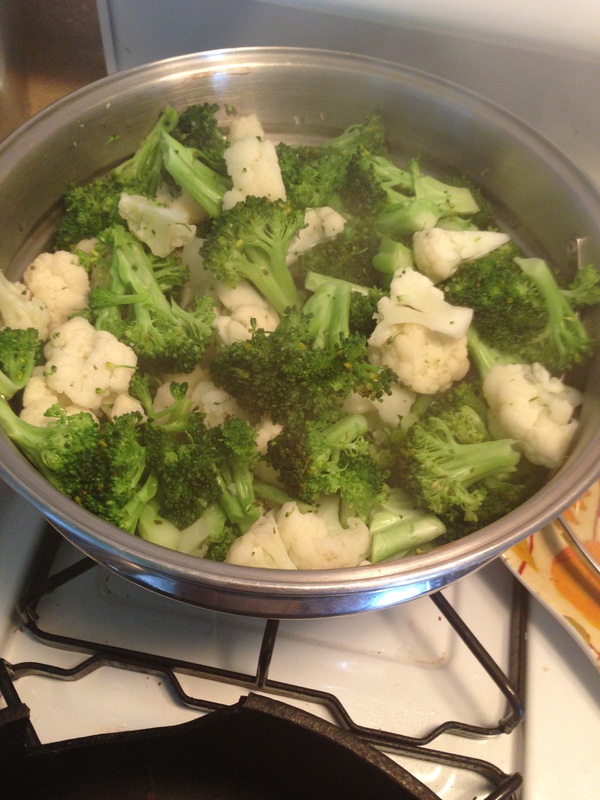
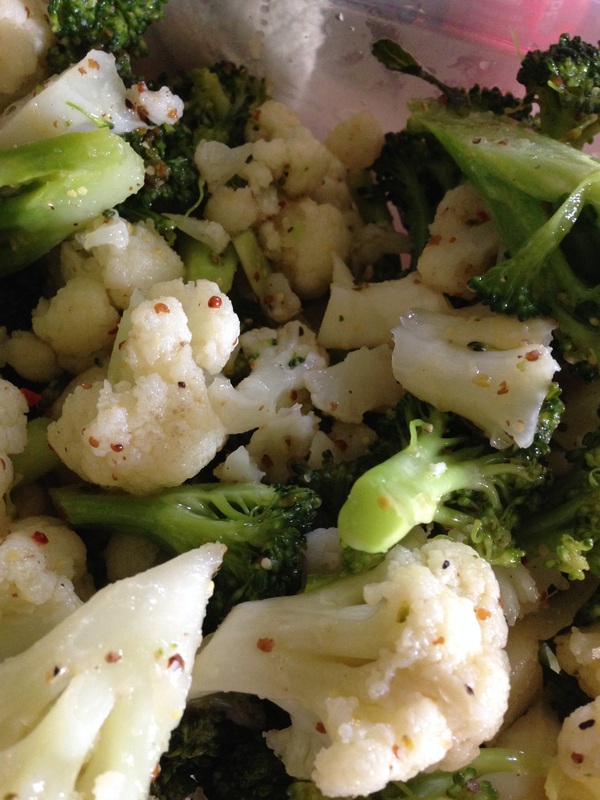
I am still on my cleaning spree, so that meant today's cooking adventure involves a casserole. Last week when I got back from my travels, I had a head of cauliflower waiting on me and then I bought some broccoli. Both needed to be used today, so instead of going to the store this week, I decided I needed to work on getting rid of the produce I had. Last summer, I fell in love with Susan V.'s Cheesy Cauliflower Sauce. A head of cauliflower will make close to four batches, so I cut up the entire head and made a double batch of the sauce. I steamed the rest of the cauliflower on top with the broccoli just until they were tender. I also had two servings each of penne and rotini pasta in the cupboard (whole wheat), so I boiled those together (thankfully, they have the same cooking time). I had two vegan andoullie sausages in the freezer, and those got thawed, sliced and pan fried with onions, garlic, and a bell pepper. Once the pasta was cooked just to al dente, I drained it, stirred it in with the sausage and veggies (some of the broccoli went in here, too). I then put in about two cups of the cheesy sauce (I had a good cup or so left over, which went in the fridge for some other use), tasted the mixture and adjusted the levels of salt and pepper, and turned it out into a casserole dish. I then roughly crumbed a couple of pieces of bread, tossed that with olive oil and seasoned salt, and spread it on top. This later went in a 375 degree oven for about 30 minutes. The remaining broccoli and cauliflower that I steamed went into a mixing bowl and was dressed with a basic vinaigrette of 3 Tbls. of apple cider vinegar, 3 Tbls. of extra virgin olive oil, 1 Tbls. of maple syrup, a good teaspoon of coarse mustard and 1 tsp. each of garlic and onion powder. I also threw in a pinch of crushed red pepper and some salt and pepper. Mix with the cauliflower and broccoli and chill. This will get eaten later this week. 
I know it has been awhile. I was traveling, first to Michigan for graduation and our annual conference, then off to Port Aransas to meet up with my mom, two sisters, and my nephew Ben and his wife Shelley and the kids. So, that's my excuse for a couple of the weeks I've been absent.
I think that Ben, who is a meat lover, was afraid that if the old aunties did the cooking that we'd make him eat vegetables. So, in order to ensure I had something to slap on a sandwich or scoop on a salad, hummus was the natural choice. He did roast the peppers for this one, and I did get him to try some Cauliflower Ceviche on his bratwurst on a bun, and he announced that it was edible. Roasted Red Pepper Hummus Yields approximately 3 cups (easily halved) 2 roasted red peppers, peeled and seeded (save the juice) 3 cloves garlic 3 cups cooked chickpeas (if you are using canned, that's two 15 ounce cans), drained (reserve the juice in case you need more liquid) 1 lemon, juiced 1 teaspoon of ground cumin 1 teaspoon salt 1/2 teaspoon pepper (or more to taste) 1 Tablespoon of olive oil In your blender or food processor, start with the garlic to chop if finely. Throw in all but 1/2 of one of the peppers, the chickpeas, seasoning, lemon juice, and the reserved juice from the peppers. Pulse and then blend/process until smooth. If there isn't enough liquid, use the liquid from the chickpeas to thin things out. Chop the reserved 1/2 roasted pepper and place on top of your plated hummus. Serving ideas: Serve with raw vegetables, with chips, pita, or even as a sandwich spread. I had a few hummus sandwiches in the sandwich press last week, and I enjoyed it so much I ordered a new sandwich maker for the house (I confess, I already had this in my shopping cart at Amazon, but this recipe just reiterated that I needed homemade triangle sandwiches). |
Who's dishing?Angel lives in Camden, Arkansas where she writes stuff and sometimes sends it out to other people to read. She used to grade papers, but not anymore. Check out her main site to see what she's up to lately. 
Archives
November 2017
Categories
All
|

 RSS Feed