|
A couple of years ago, Dani and I made the trek to Atlanta from Little Rock so she could take the clinical skills part of STEP 2. I lived in Auburn, AL for five years and in all those years I never made it to the DeKalb County Farmers' Market. I was so missing out. We saw something on PBS about how the Market helps non-native folks learn English and gives them a job while they learn. That's pretty cool, if you ask me. One of our finds there (there were so many! If you are ever driving through stop and have lunch there where you can pick and choose from their huge hot and cold bars) was the Pigeon Pea. I bought a package and we've been hooked ever since. Pigeon Peas (AKA gandule, gunga, no-eye pea, and toor dal) are round, firm, and fragrant. Here's what I did with them last night. 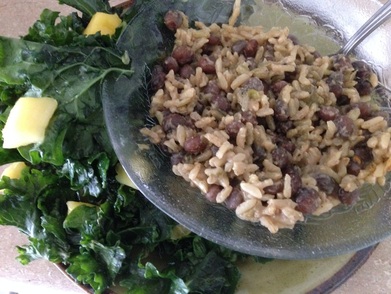 Pigeon Peas and Coconut Rice
Serves 4 1 cup of Pigeon Peas, rinsed and picked over* 3 cups of vegetable stock 5 green onions, sliced 2 cloves of garlic, minced 1 cup brown basmati rice 1/2 teaspoon dried ginger powder 2-3 Tablespoons of "no-chicken" broth powder 1 cup of coconut milk (see my tutorials for how I make my own. You can use canned). 1-2 minced jalapeno or serrano peppers** Put your peas and vegetable broth in your pressure cooker. I let mine cook for 30 minutes at pressure. Drain and reserve 1 cup of the cooking broth. In your pressure cooker, throw in the drained peas, the rice, spices, and onions & garlic. Add the coconut milk to the reserved broth and add that in to the cooker. I then cooked it all together using the brown rice setting (which is pressure for about 25 minutes). *I used my magical pressure cooker. If you are cooking this on the stovetop, soak the peas overnight or use the hot-soak method. Drain the soaking water, and cook the peas until tender and then drain them reserving the liquid and proceed, adding them to your rice pot before cooking. The measurements for everything should work on the stove. ** I had some diced hot Hatch chiles I needed to use, so that's what went in my batch. If you don't like heat, you could get a can of chopped green chiles and use those. The heat level is up to you. I served this with one of my favorite ways to use kale: Massaged Kale Salad with Mango. I only used 1 Tablespoon of olive oil and the juice of a lemon for two bunches of kale from the farmer's market (and no sweetener beyond the mango juice I squeezed from the skins). I also put in two mangoes. I got it a bit salty, but it worked well with the Pigeon Peas.
3 Comments
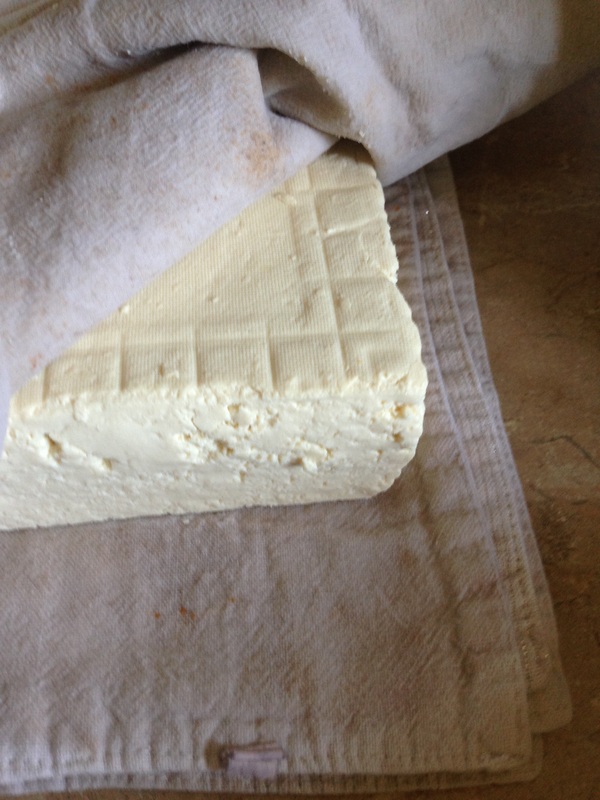
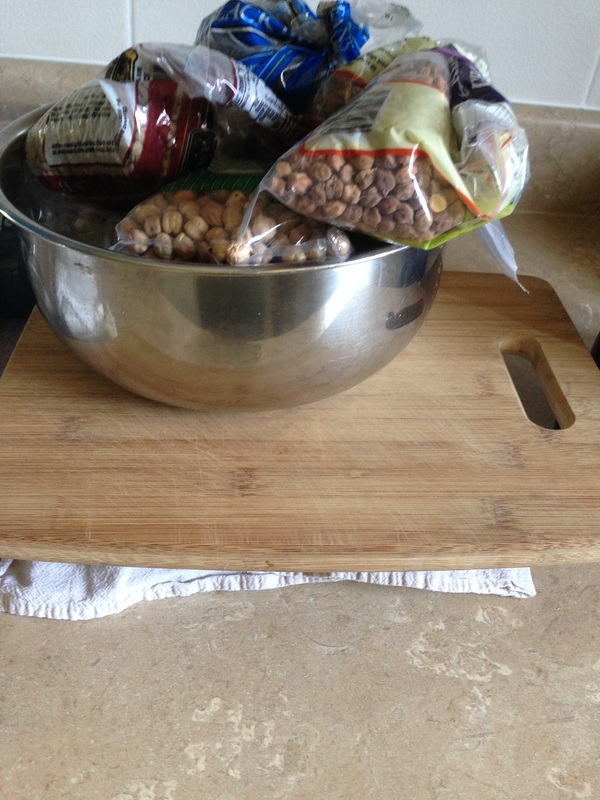
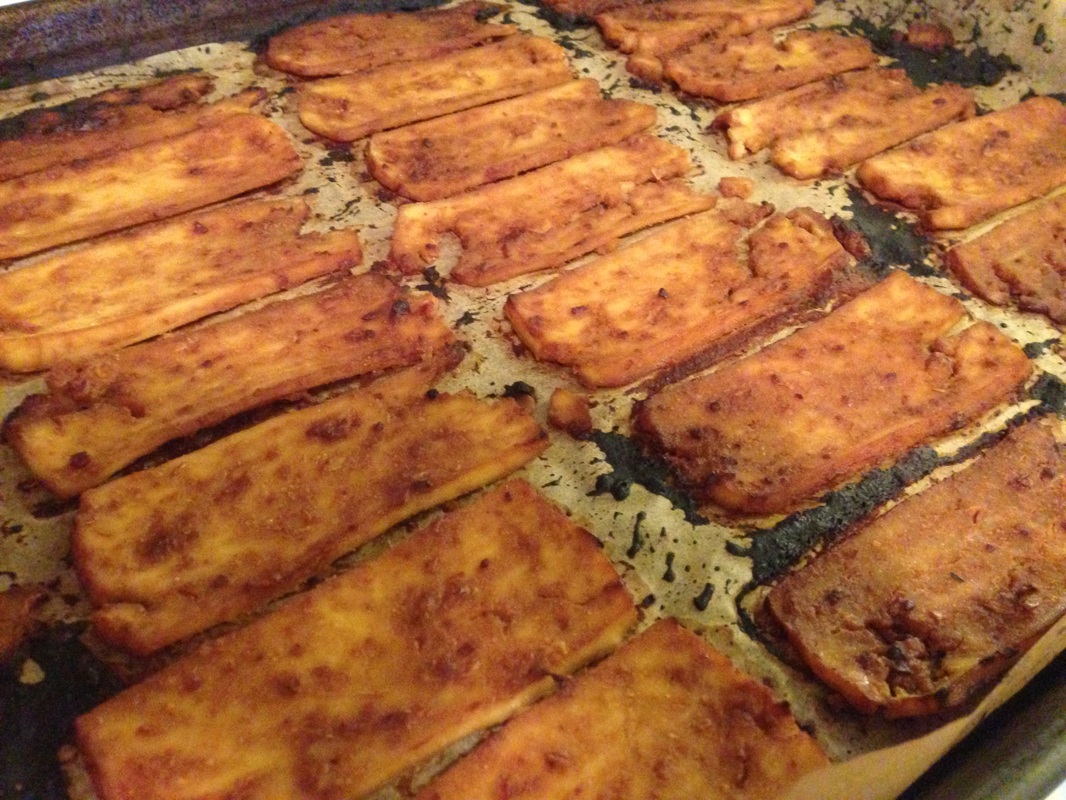
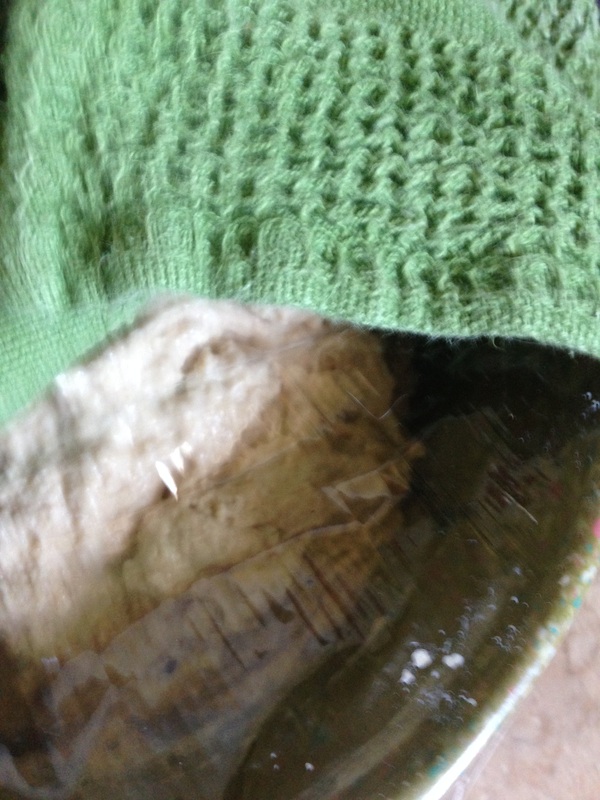
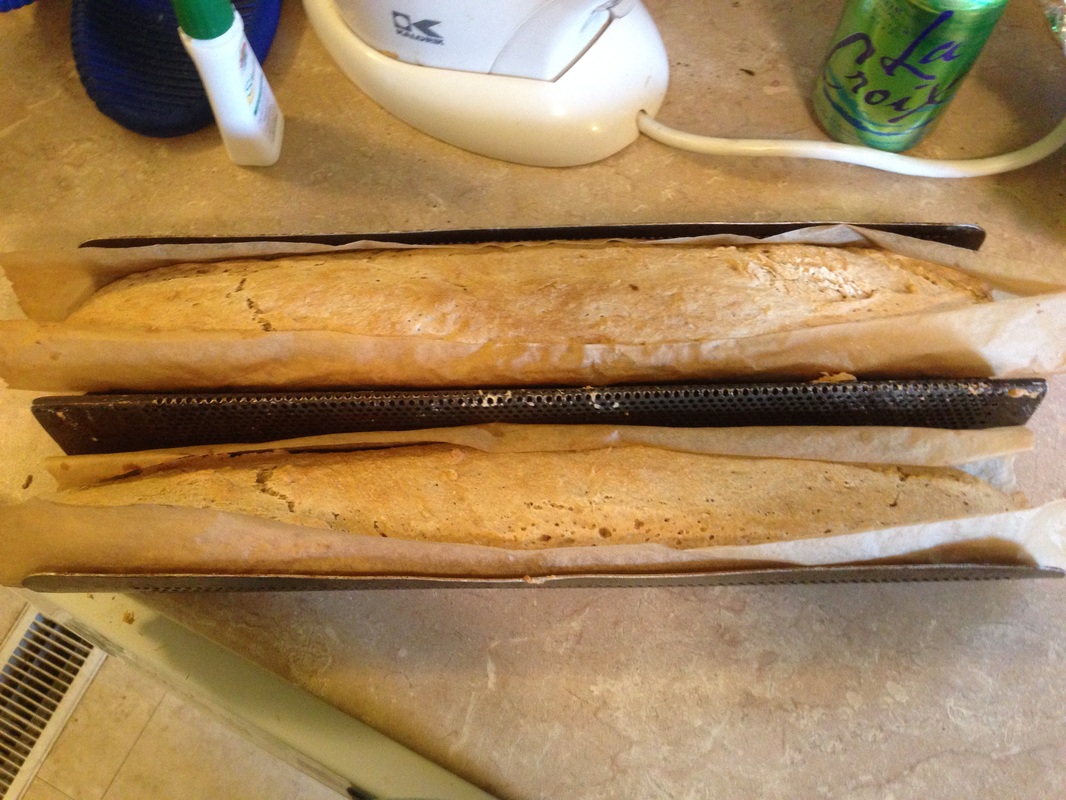
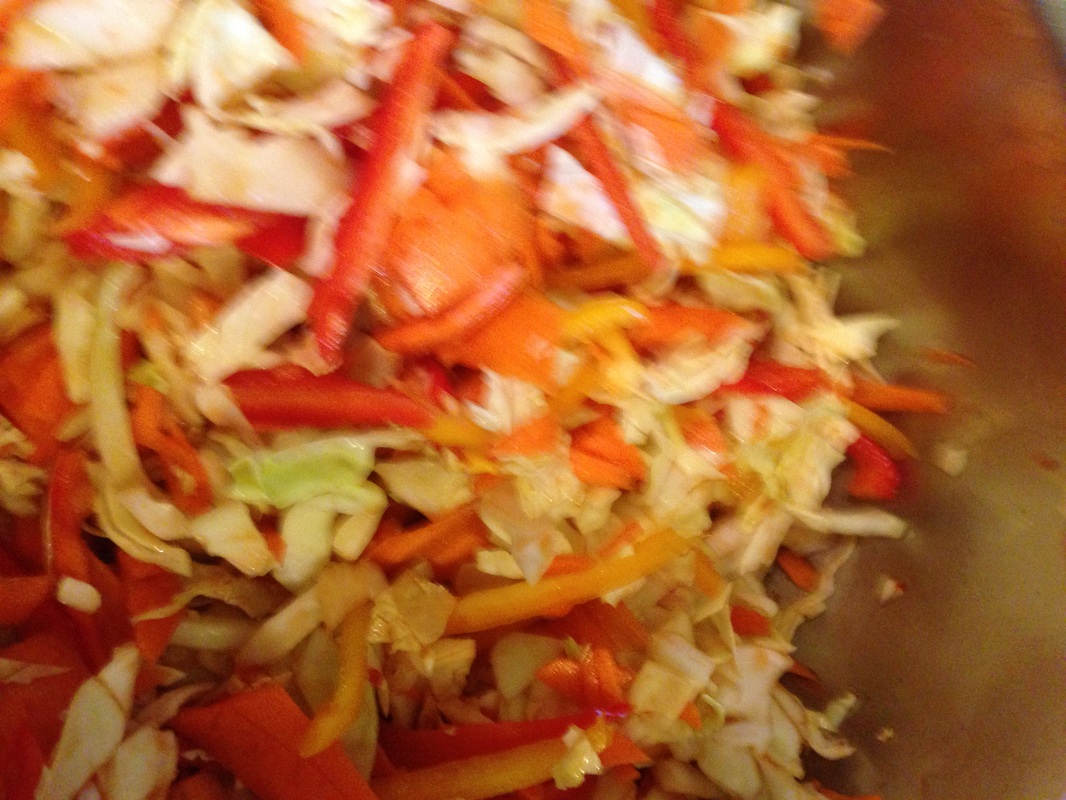
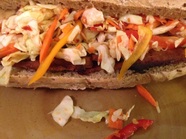 It has been a Vegan Yum Yum week at our house. On Tuesday, I opted for the Tamarind Seitan kabobs and last night was all about Banh Mi sandwiches made with Smokey Miso Tofu. I don't tinker with this recipe, as it is so good that it is already perfect. I do recommend using parchment paper just for easier clean up. Also, do be sure that you press your tofu. Here are some pictures of my set up. Notice that the weight is a metal bowl full of bags of dried beans. Trust me that you want a weight that can't really break. My favorite glass bowl that I used to make bread dough and my favorite iron skillet are weights I used in the past, and they both broke (the handle on the skillet broke off--I still use it. The bowl, unfortunately, did not make it). The bread for this was my version of Healthy Artisan Bread in 5 Minutes a Day. Here's my recipe. My modifications are that I don't use any white AP flour and I add oil and sugar. 1/2 T of each for a standard baguette isn't going to hurt you :) You can leave the oil and sugar out if you must, but know that the texture of the bread will be rougher. The oil and sugar make it a softer loaf. I'm sure there's a science to this, but I just know the bread doesn't tear up the roof of my mouth this way. In a mixing bowl: 3 3/4 cups white whole wheat flour (King Arthur, Bob's Red Mill, Kroger brand, Gold Medal) 2 Tablespoons of Vital Wheat Gluten 1 Tablespoon of instant yeast In a measuring cup: 2 cups of water (this should be warmish. You are going for a long rise time, so you don't have to be too picky as long as you don't have HOT water and kill your yeast) 1/2 Tablespoon of salt 1 Tablespoon of sugar 1 Tablespoon of olive oil Stir until the salt and sugar are dissolved. Pour this in the bowl with your dry ingredients. Stir until all of the flour is taken up. It is a wet, shaggy dough. Cover with plastic wrap and let rise until doubled. I let mine go for a good four hours. Once your dough is ready to go, line your French loaf pan with parchment paper. Dust the top of your dough with flour and punch it down. I just karate chop it down the center to separate the two dough balls. One goes in each side of my lined baguette pan. I cover with a towel and let it rise again while the oven preheats to 425. Let it rise a good 30 minutes. Bake for 25 minutes and then remove to cool while you cook your tofu (also at 425, handily enough). The crowning touch is a good slaw. Chop up about two cups of green cabbage, two carrots (I just ribbon it with my peeler), and a good cup or so of julienne cut peppers. I used those little tri-color sweet peppers that come in a bag (which also skewer and grill well to go with your Tamarind Kabobs because you know you're going to make that one, too). The dressing is simply 1 Tablespoon of lime juice, 1 Tablespoon of good quality Tamari (you can use soy sauce if that's what you have), and a bit of garlic chili paste. That's it. Toss it together and cram it in your sandwich. To build these, I generally slice a baguette in half, then I split each of those halves across. I pull out a good bit of the interior and save those for raggedy croutons or bread crumbs for some other dish later. I also feed some to Trey, who says to me all the time that I don't bake bread nearly often enough.  Enjoy! I highly recommend you get the VYY app if you have an iPhone or iPad. It's a great resources when you know you want something vegan and something yummy.
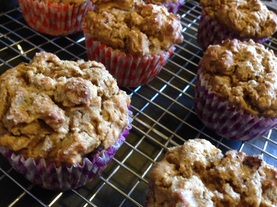 I realized last week that even though I tend to bake probably once a week, I haven't really shared baked goods here. I had to visit the office last week, so before I took off for Michigan, I made a batch of muffins. The idea was that I'd take one for the road, and Dani would have some here at the house while I was gone. I did eat one before I left, and thankfully I put 1/2 of the batch in the freezer because they got forgotten. It's not that they weren't good; we were just crazy busy!
I adapted this recipe, which I had made as a loaf before. I will definitely make these again, and so I everyone can have them, I made these gluten-free! Pumpkin Muffins Makes 12 muffins
Mix the dry. Add the wet. Stir it just until mixed. Load up your muffin tin. Baker for 35 minutes or so (they should pass the toothpick test). Enjoy! |
Who's dishing?Angel lives in Camden, Arkansas where she writes stuff and sometimes sends it out to other people to read. She used to grade papers, but not anymore. Check out her main site to see what she's up to lately. 
Archives
November 2017
Categories
All
|


 RSS Feed