|
I haven't posted anything new in awhile, and that is in part because I haven't been cooking new dishes of my own really. Here are some recipes from other folks I've cooked recently and can recommend:
Vegan Mozzarella from Eating Whole: This didn't really melt for me when I topped a pasta bake with it, but it is creamy and tasty. It makes a pretty big batch, and it's good on crackers. Eating Whole indicates that it can be frozen but it changes the texture. Vegan Coconut Lentil Curry Soup: This is a recipe that a friend turned me on to and I've been meaning to make it ever since. I made it last night and it's about to be lunch. I promise I'll try to post more, but I am starting orthodontic treatment, so chewing is not my favorite activity lately. Tonight's dinner will be a new recipe for me (at least a new take on a favorite that I'm veganizing for the first time), so I should have a post for you soon.
0 Comments
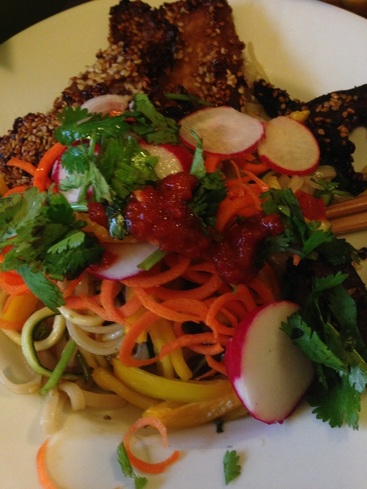
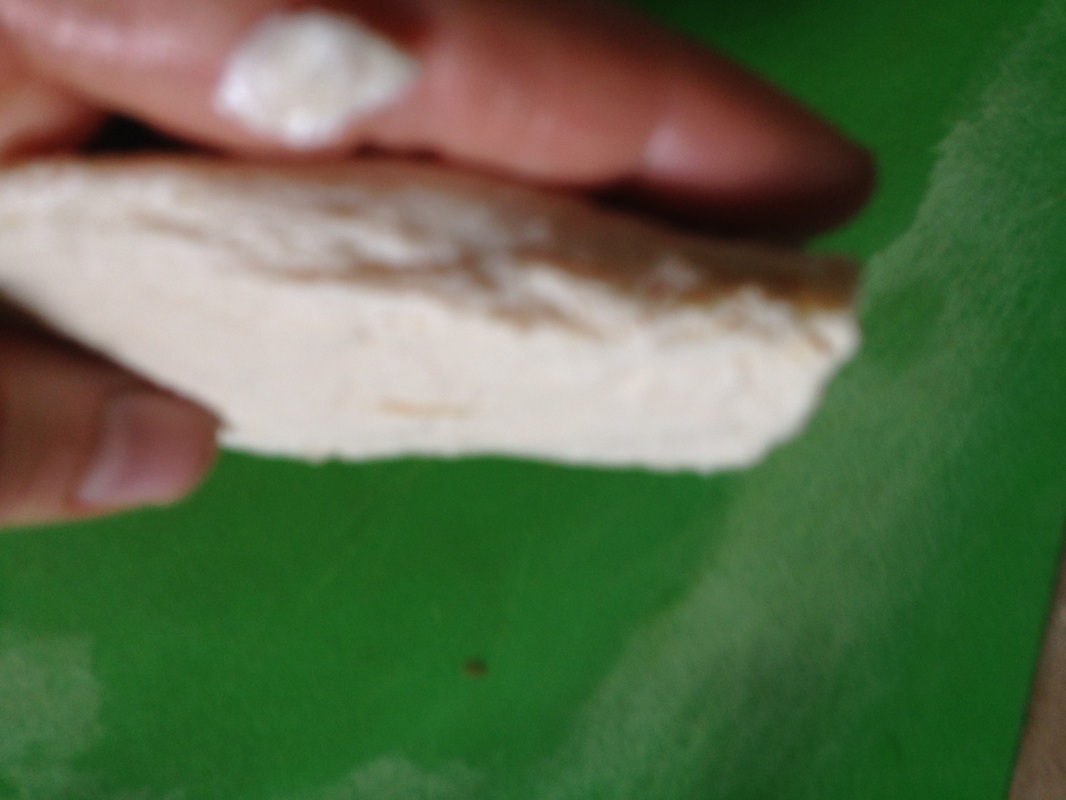
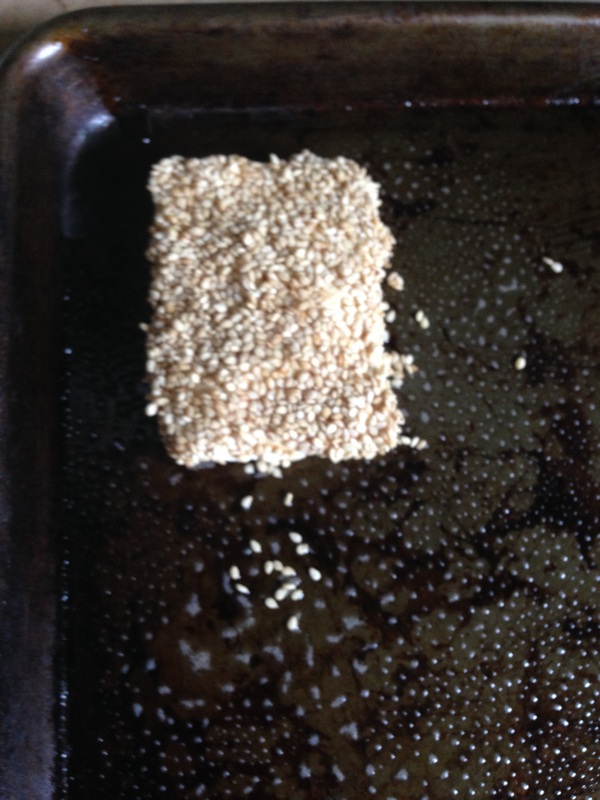
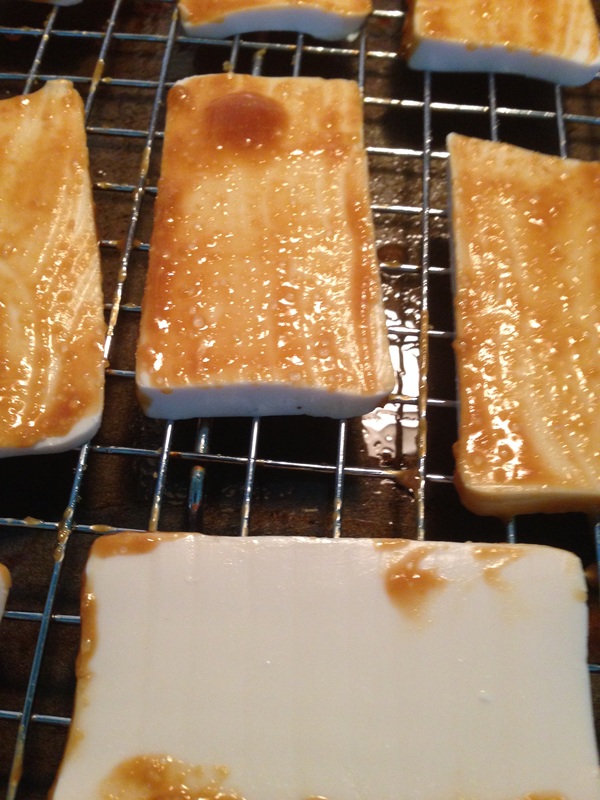
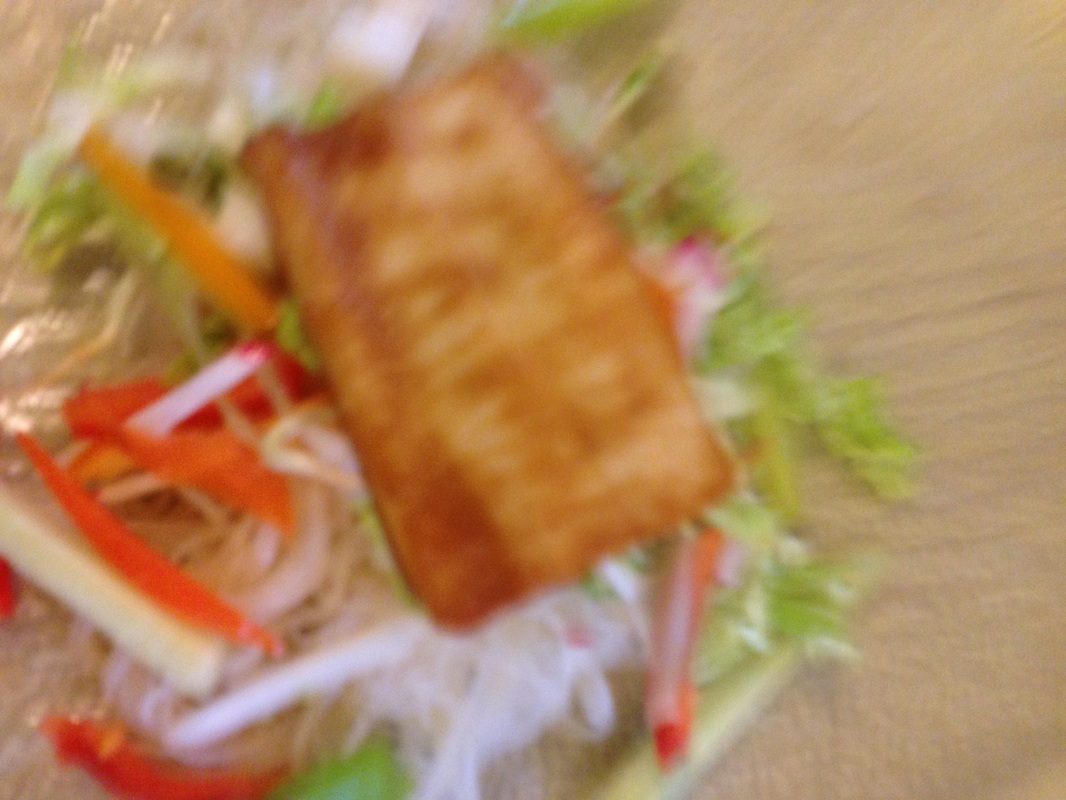
While at Costco the other day, I spotted a case (12 boxes) of Mori-Nu extra firm silken tofu. This is the shelf-stable stuff that I use most often to make vegan mayo for Vegan Crunk's Dilled Tater Salad or quick chocolate pudding for dessert. I also use it pressed and grated in My Vegan Cookbook's Faux Crab Cakes and to make Cristina's Caesar Dressing. Silken tofu gets a bit of a bad wrap in savory dish recipe writing. It is very custardy and works great in sauces and desserts, but a lot of the recipes you'll find call for a sturdier tofu (even going so far as saying DO NOT use SILKEN). So, with a case in hand, I headed home determined that I would give you some ideas for this staple that won't take up room in your refrigerator (although it will take up some freezer space). The first round of experimentation resulted in the sesame crusted tofu cutlets in the photo above. These were a hit, and I've already got two more blocks curing in the freezer for some "no fish" cutlets soon. Step One: Freeze your tofu I knew that I would want to have four servings, so I cut each block in half and then sliced each half into two cutlets by standing the block on the cut end and using the handy seam from the box to slide my knife down the middle. I then wrapped the cutlets (I got four from each block, so eight total) in plastic wrap and put them in a freezer container. The plastic wrap keeps them separate and helps you lift them out later for squeezing. Let the tofu freeze for at least 48 hours. It will turn quite yellow (see the second set of pictures below), but will return to white once thawed. Step Two: Squeeze out the water The first picture above shows what a frozen cutlet looks like before I pressed it between my palms. The second picture shows the flattened, pressed cutlet. You can see from the third picture that these little darlings are a bit flaky and tender, but you can press the flakes together. Just be ginger. Step Three: Make it tasty and give it a crust
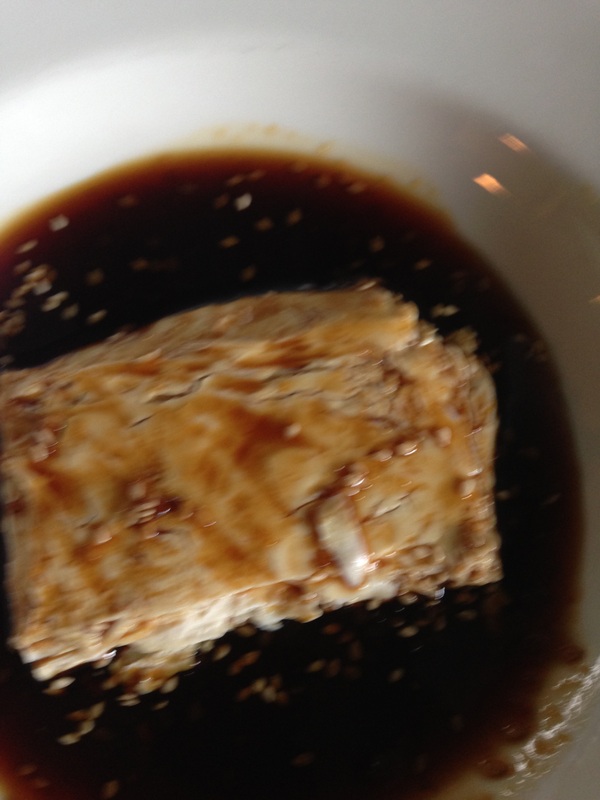
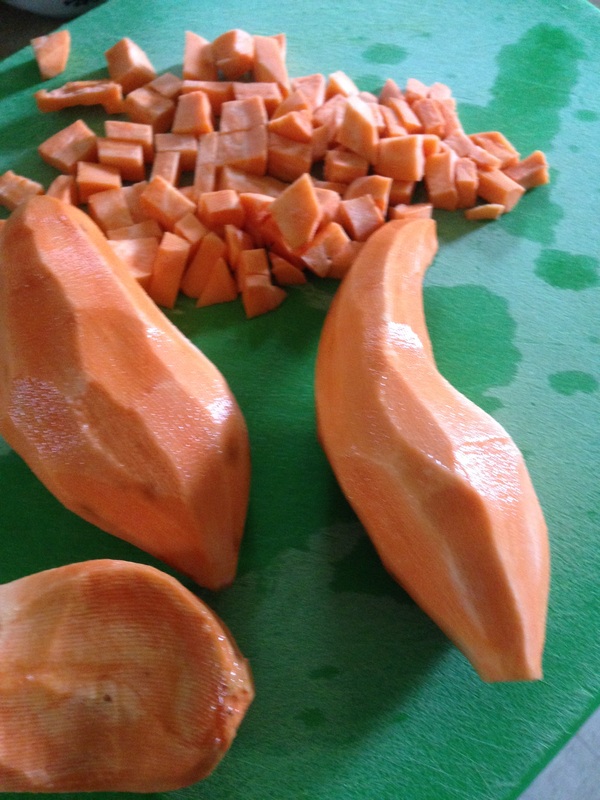
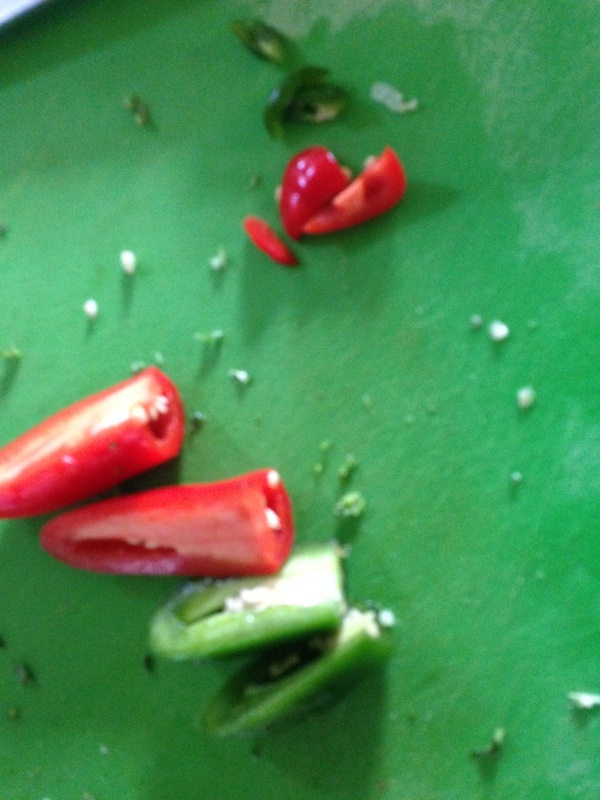
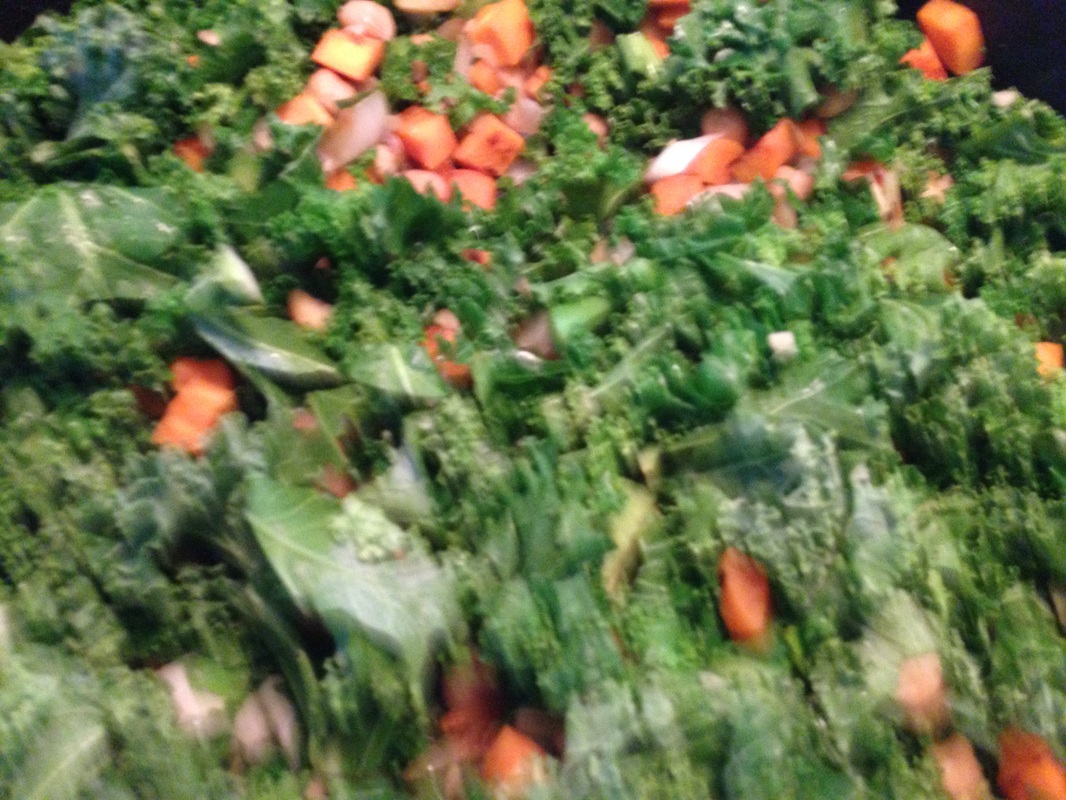
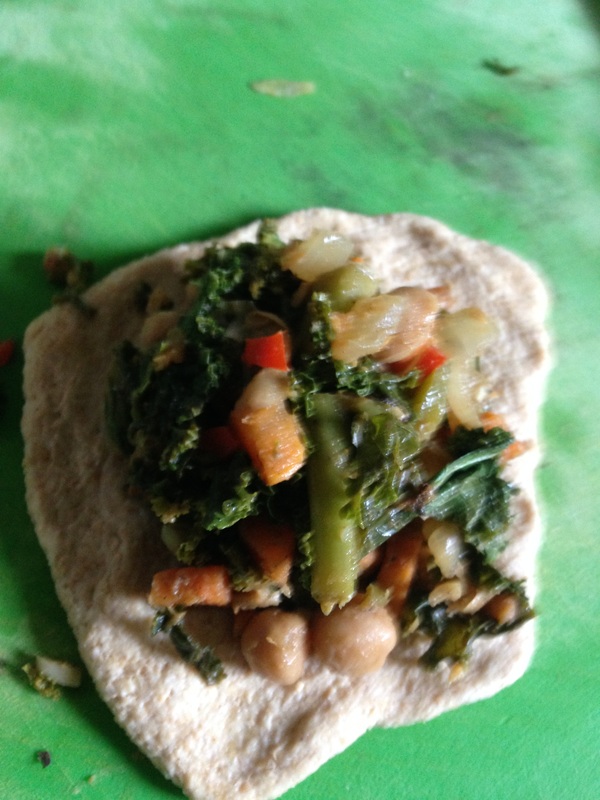
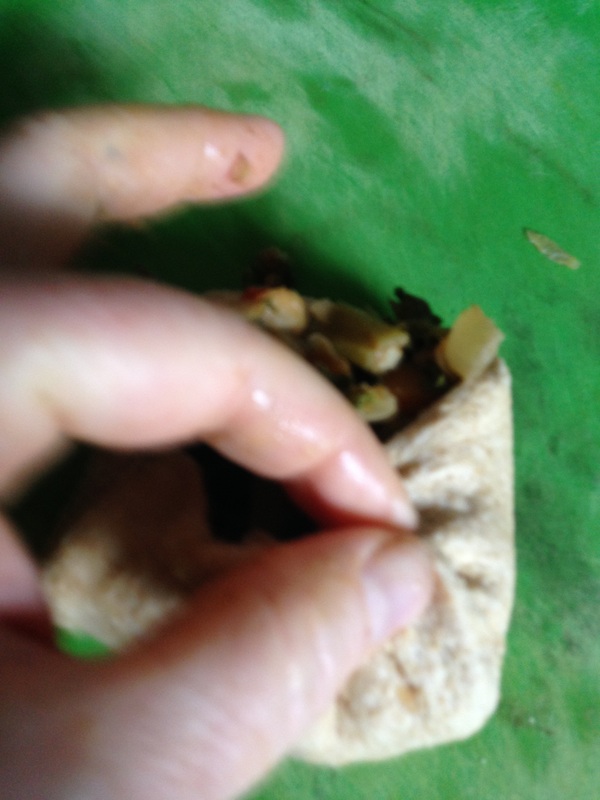
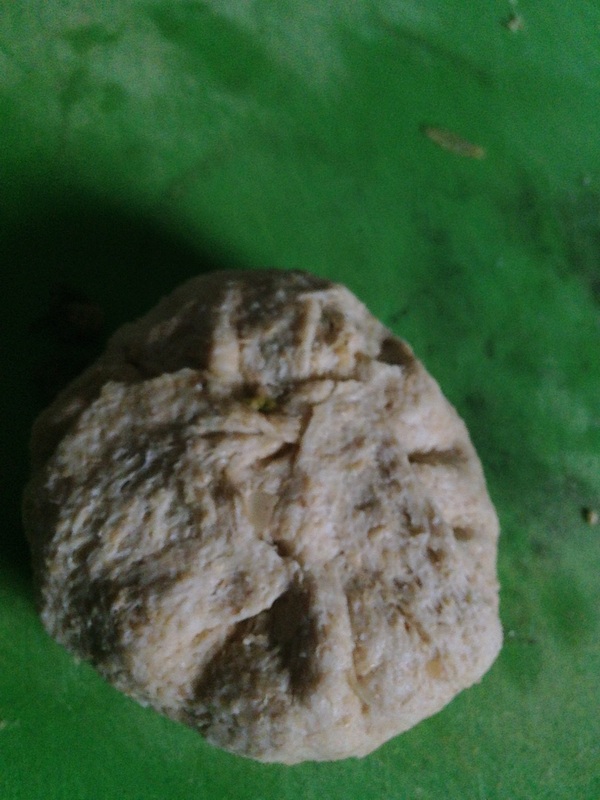
I kept it simple. Also from Costco, I had a huge jug of Soy-Vey Teriyaki Sauce. This stuff is so awesome. I put some in a bowl. I also put out some sesame seeds on a plate and then dipped each cutlet first in the teriyaki, then coated with sesame seeds. These went down on a sprayed baking sheet. I spritzed the top of them, as well. They shared the sheet with slices of portobello mushroom that had been marinated in the Soy Vey that was left in the bowl after I put the tofu in it. No need to waste! I cooked at 350 for 15 minutes and then gently turned them over and went another 15. I turned the oven off and left the cutlets in there while I prepped the rest of my noodle bowl ingredients (rice noodles and various raw vegetables). So, they were in the hot oven longer than 30 minutes. About once a week, Dr. Dani has to travel to a clinic in another county to see patients. The drive apparently happens lunch time (luckily for her, as otherwise she might not get lunch), so I strive to give her something for lunch that she can eat while driving. I decided last week to make a whole wheat bun filled with cooked chickpeas, sweet potatoes, and kale. I have to confess that the amount of filling was more than what I got in my bun dough, so the leftover filling (there wasn't a huge amount) went in the freezer and will likely be used in a wrap later when I'm home alone and searching for something to eat. The Dough 1/4 cup warm water 1 Tablespoon of sugar or honey 1 Tablespoon of instant yeast Let this hang out until it's foamy (about ten minutes). Then, stir in 3 cups of White Whole Wheat Flour and 2 Tablespoons of Vital Wheat Gluten. Stir together 1 cup warm water, 1 Tablespoon of olive oil, and 1 teaspoon of salt. Stir this into the flour mixture and knead on a lightly floured board (or even in the mixing bowl) until the dough is fairly smooth and isn't sticking to your hands. Let rise for 1.5-2 hours. Note: I add oil and sugar because I find with a whole wheat bread that it helps the bread stay soft. Without those ingredients, the bread will taste fine, but I find the crust a bit abrasive on the roof of the mouth. It is your call. You could also leave the vital wheat gluten out. I put it in to help give the whole grain flour a bit more elasticity since you want a dough forgiving enough to stretch around the filling. The Filling 1 cup diced onion 3 cups diced sweet potato (I peeled mine because they were a bit gnarly. You decide). 1 Tablespoon minced garlic 1 Tablespoon minced ginger root 2 jalapeños, seeded and minced. (I had a red and a green). 4 cups chopped kale 2 cups cooked chickpeas 2 Tablespoons of no chicken broth powder 1 Tablespoon of Garam Masala seasoning 1 cup water 2 Tablespoons lime or lemon juice Start with the onion and sweet potato in a non-stick skillet on medium heat. Cook until the sweet potato has begun to brown and is fairly tender. Stir in garlic, peppers, and ginger and let cook for a minute or two then add chickpeas and kale, stirring to mix. Mix the spices and liquid ingredients in the water (or throw them in the pan briefly to toast and revitalize them) and put all in the pan. Stir until the kale is tender and the liquid has cooked down. The mixture should be moist enough to hold together, but it should not be wet or soupy. Allow the mixture to cool in the refrigerator while the bread rises. To stuff the buns, punch the dough down and divide into 12 equal portions. Using your hands or a rolling pin, flatten a dough ball and shape into a circle. Put 2-3 Tablespoons of the chilled chickpea mixture in the center and start pinching the sides together, wrapping up the dough. Twist the ends together and place seam side down on a baking sheet that has been sprayed with non-stick spray. Keep going until all 12 buns are stuffed. Cover with a clean dish towel and let rise for 45 minutes or longer. You can spray with a bit of nonstick spray before baking them off in a 350 degree oven for 30 minutes. The bottoms should be golden. 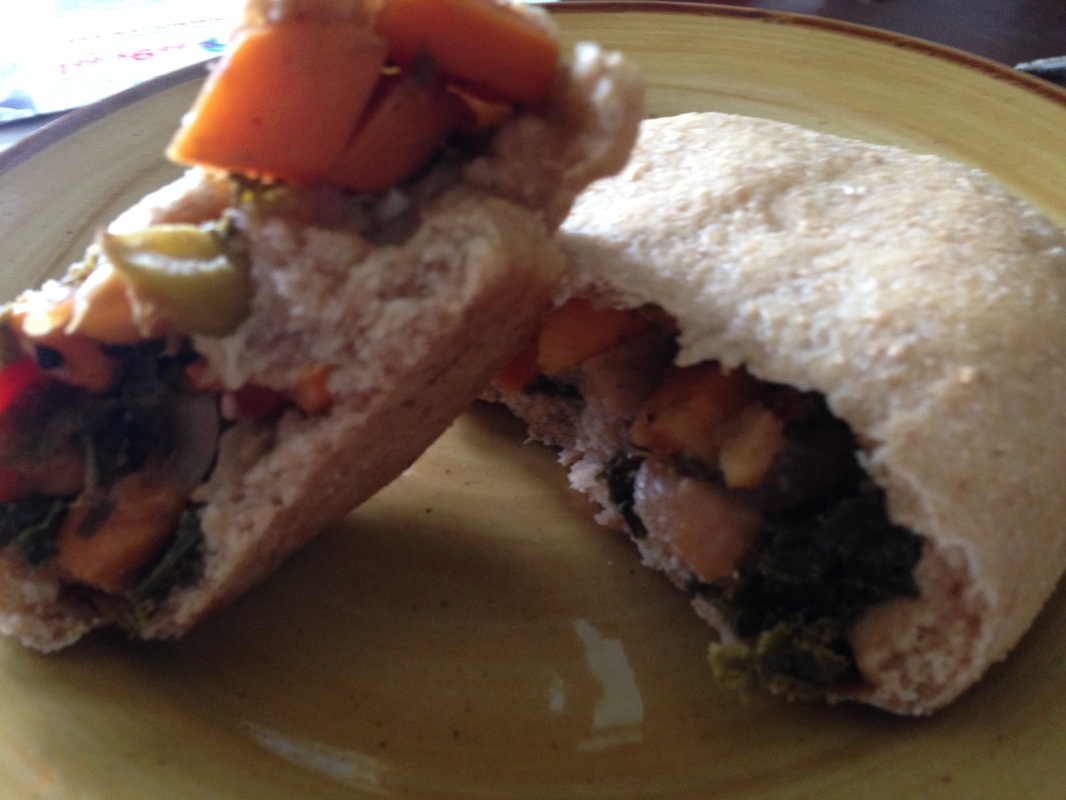
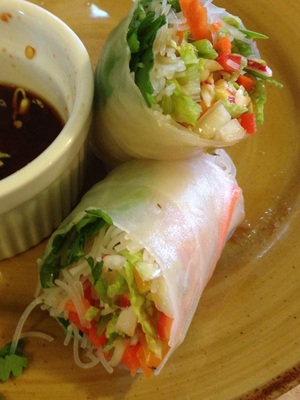
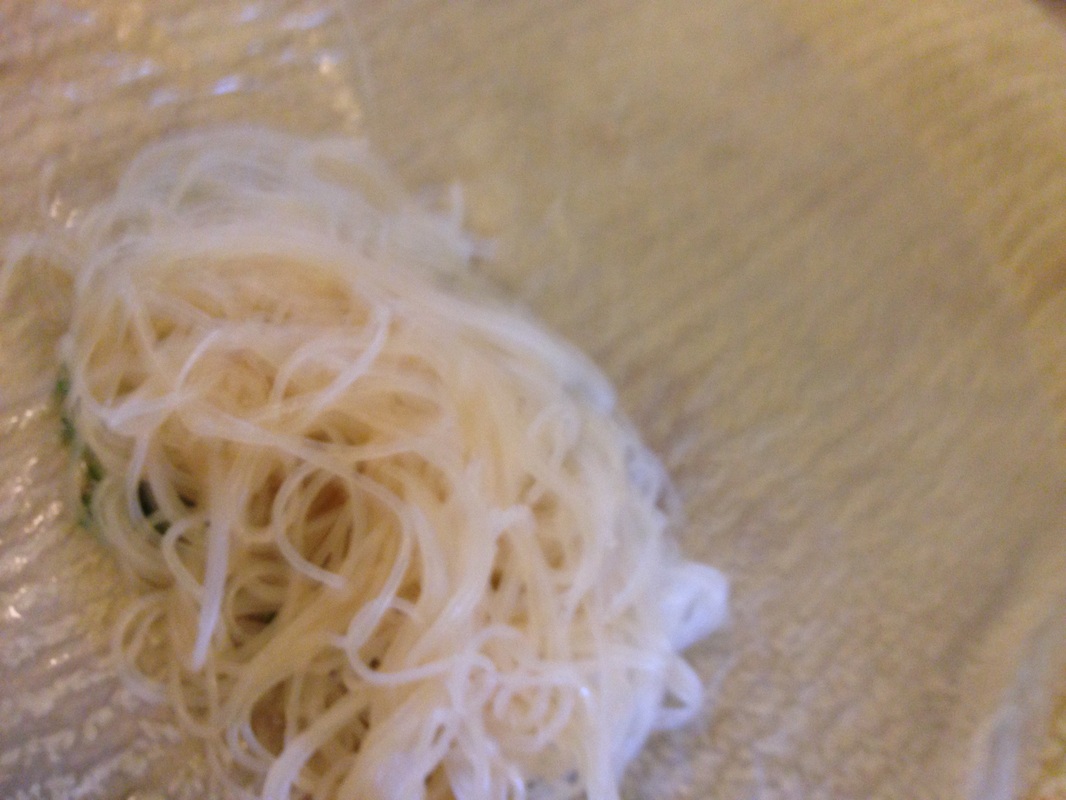
The biggest thing that I've been working on with the clean up of our diet is adding more raw elements to our meals. I made some of these summer rolls (minus the tofu) for the neighborhood block party last month with a spicy peanut sauce, and when I was at Price Chopper the other day I picked up another bag of rice sticks, I knew it was time to make a meal of it and post some tips. These can really be done with whatever you like, but here's what you're looking at in the photos as the filling:
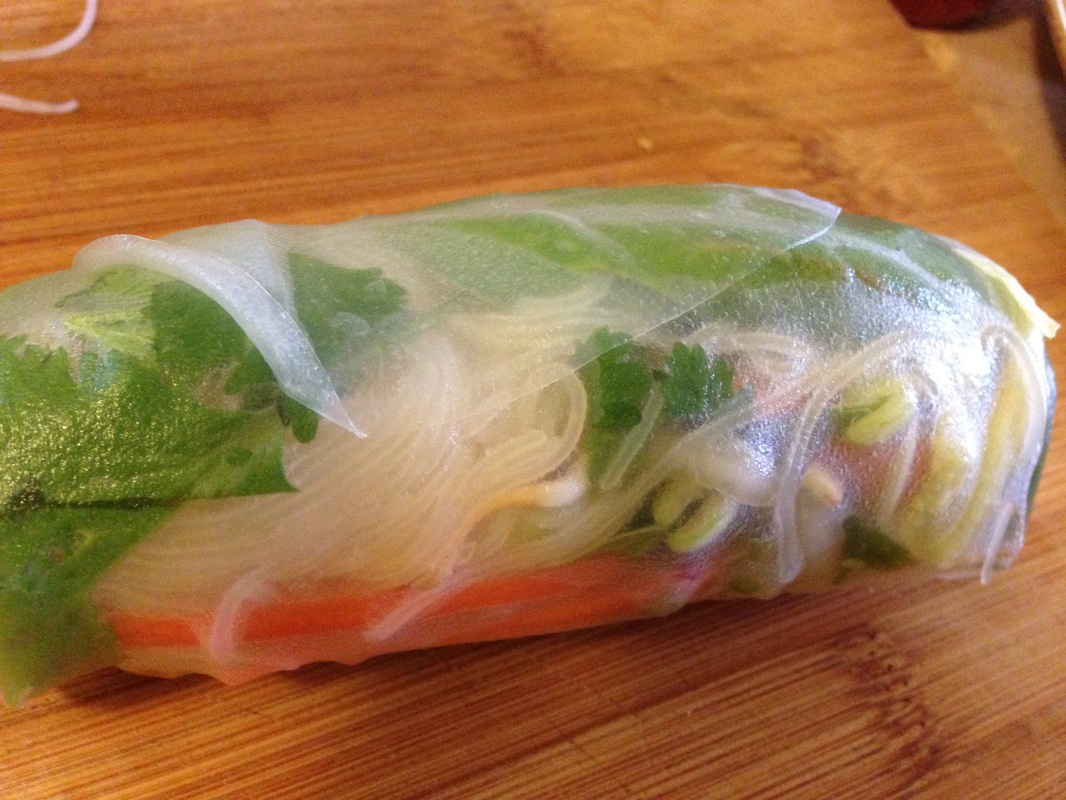
The key for me is the paper for rolling. Having a standard order of ingredients helps, as well. I use room temperature water, and only soak these until they are pliable. I then put the wrapper down on a clean dish towel and start filling. I start with the herbs, then the noodles, and finally the vegetables and top with the tofu. The idea is that the herbs and the tofu sort of sandwich the fillings, making it easier to roll. I first fold in the sides, then start rolling the filling up. If it doesn't look like the ends will stick, you can wet your finger and use that to moisten the finishing flap. Set aside and keep rolling!
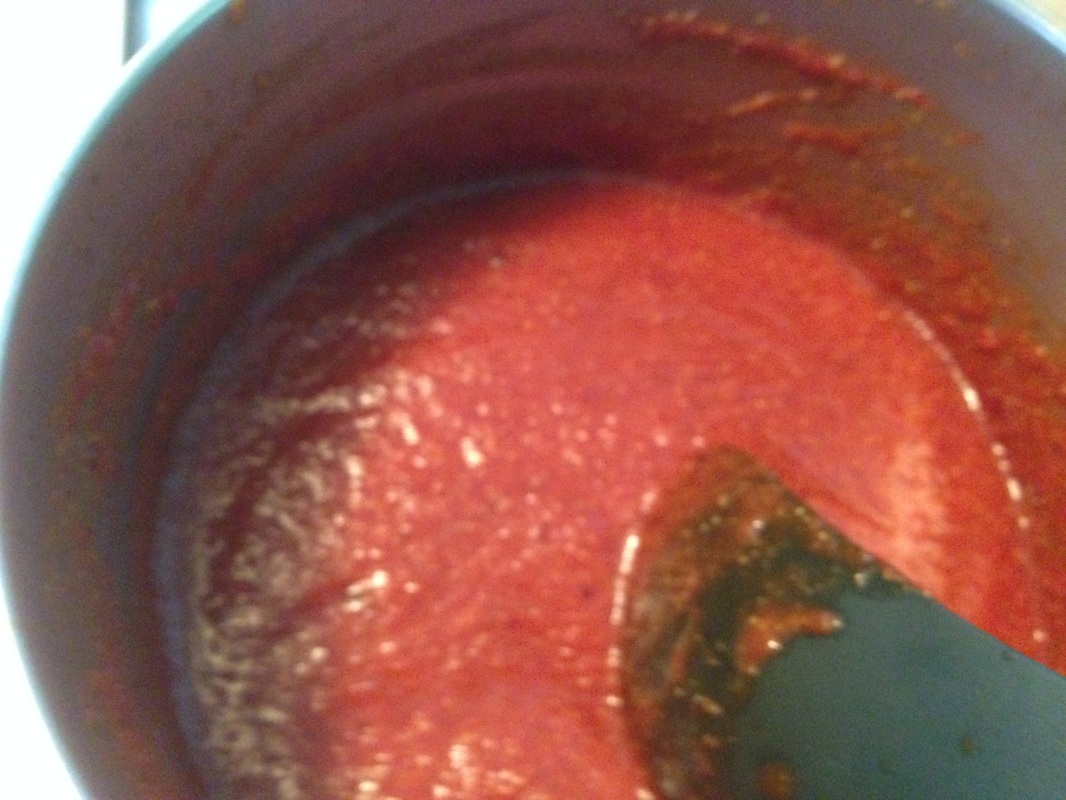
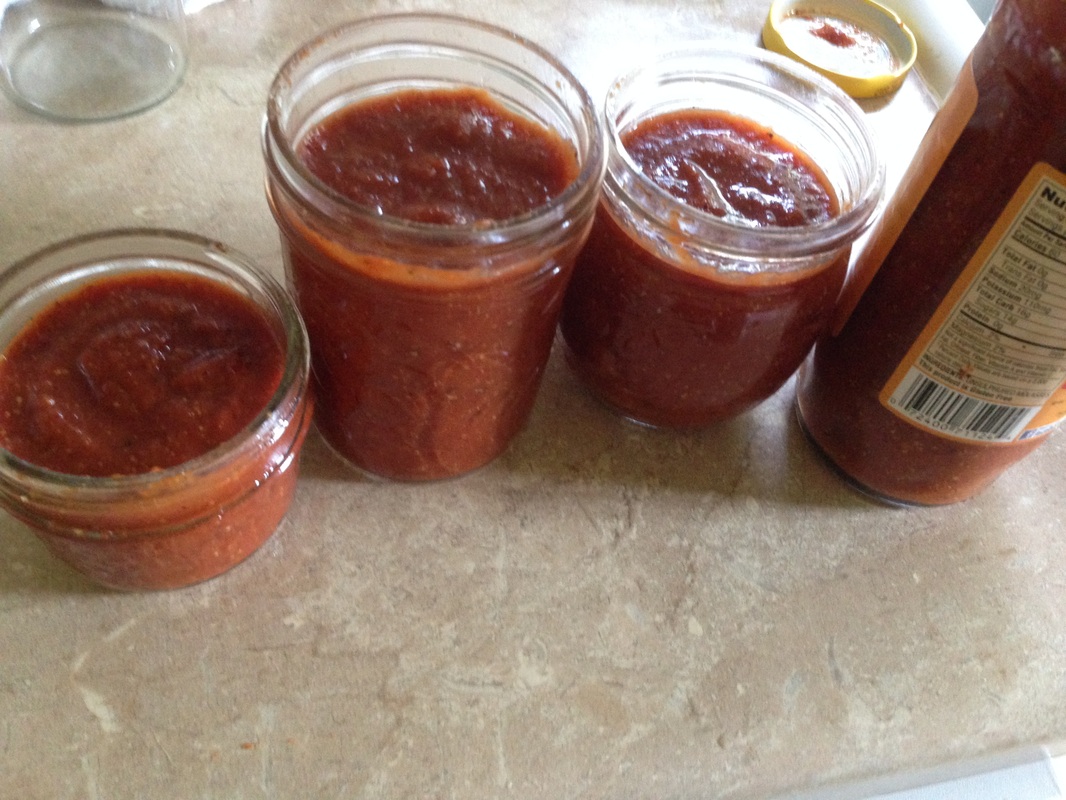
I got about 16 rolls out of a mixing bowl of vegetables and the noodles. I wound up with a ziplock bag of vegetables left over, which went in our black-eyed pea falafel wraps last night for dinner (based on Crescent Dragonwagon's New South Falafel from The Passionate Vegetarian). These are great with a peanut sauce, or with a dipping sauce of soy sauce, rice vinegar and chili paste. I had leftover miso marinade, and we loved it so much that I made a jar to keep in the refrigerator for using with the leftovers. These will keep in the fridge for a couple of days, but note that the rice paper will start to disintegrate a bit. We had these for dinner on Saturday, luck on Sunday, and polished off the last ones yesterday as a snack. You can, of course, put shrimp in these, as well as grilled vegetables or whatever else you want or happen to have around. I have skipped the noodles before and used only vegetables, as well. I'm sure that substituting some marinated, grilled, thinly sliced portobello strips would sub in well for Thai beef salad. (Yes, I'll do that in my next summer roll post). 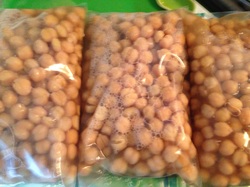 If you follow us at Two Fat Sisters, you probably already know that I've been working on cleaning up our diet a bit in an effort to shave off some pounds I've gained. Today, I should be writing, but it's been awhile since I've been in the kitchen, so I decided to make some barbecue sauce for this week, as well as to make some vegan Italian sausage. I've also got a loaf of chicken style seitan in the oven right now, as that freezes great and I can spend two + hours making it today so when I'm busy I can just thaw and go. If you decide to make this recipe, note that it never takes a full cup of water in the dough for me. I add water until I have a moist, kneadable dough. My BBQ sauce is loosely based on the recipe in Barnard's 21 Day Kick Start to Weight Loss. BBQ Sauce Makes about 3.5 cups 1/2 yellow onion, diced 2 cloves minced garlic 14 ounce can of fire roasted tomatoes 6 ounce can of tomato paste Juice of one lemon 2 Tablespoons Molasses 2 Tablespoons of maple syrup 1/4 cup mustard (prepared--I used stone ground) 1 teaspoon bittersweet smoked paprika 1/4 teaspoon or so of hot smoked paprika pinch of crushed red pepper 2 Tablespoons tamari 1-2 Tablespoons of cider vinegar In a saucepan, sauté the onion until soft. Add the garlic and cook for another minute or so. Add all other ingredients and use an immersion blender to puree. Cook for five minutes or so and taste for saltiness and heat. You can also add more vinegar if desired. I recycled my empty molasses jar for the fridge, and two other one cup jars are going in the freezer. I have a couple of ears of corn in the fridge that we need to eat, so I cooked a bag of navy beans in the pressure cooker. I set aside 1/2 a cup of the cooked beans for the sausage, and took two cups of the beans and stirred in barbecue sauce. Those will be baked off later this week for our BBQ dinner of corn, beans, and some sort of protein (I haven't decided between soy curls, tofu, tempeh, seitan, or a chickpea cutlet yet). The rest of the beans were split between two ziplock bags and put in the freezer for future use. I had cooked some chickpeas earlier this week and bagged those up for the freezer, too, leaving out a can's worth for either hummus or cutlets (see above). Italian Sausage
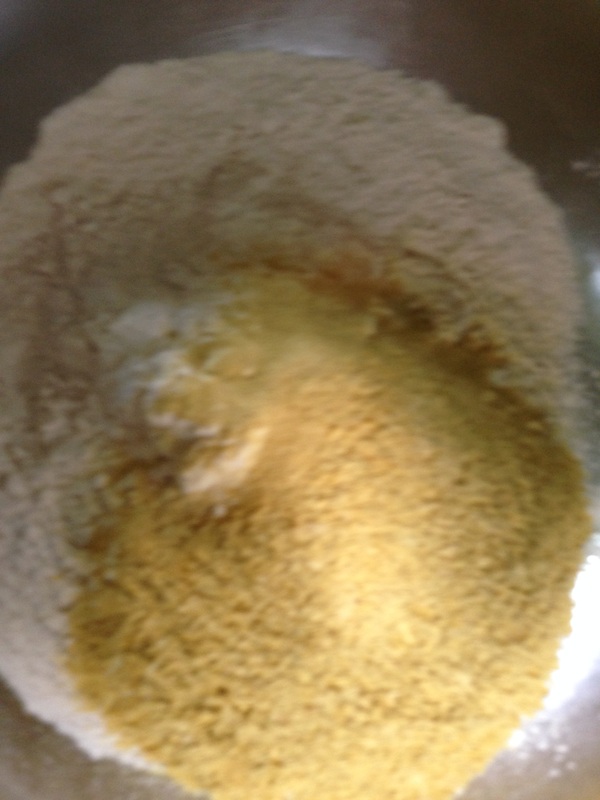
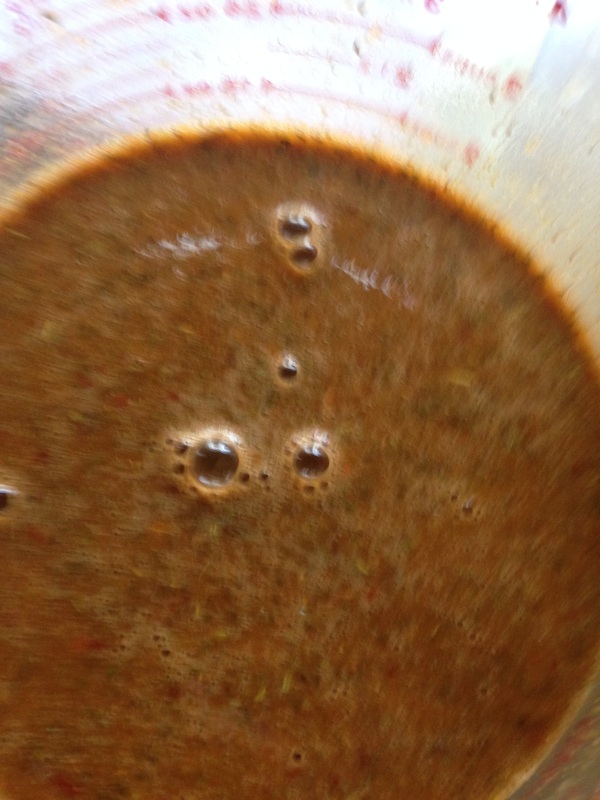
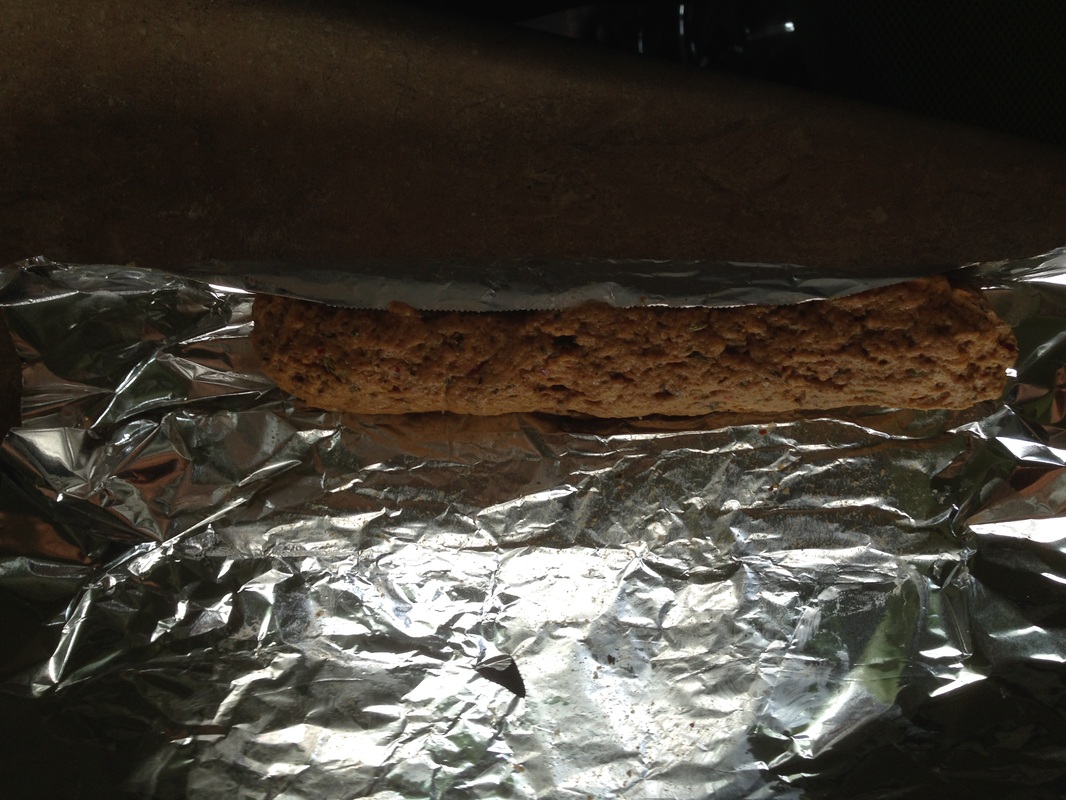
Makes 4 sausages (recipe based on Isa's Italian Feast Sausages) In a bowl, combine 1 1/4 cups of vital wheat gluten + 1/4 cup nutritional yeast In a blender or large mixing cup (if you have an immersion blender), put: 1 cup filtered water 2 Tablespoons of soy sauce or tamari 1 teaspoon fennel 1 teaspoon of paprika 1 teaspoon of smoked sweet paprika 1 Tablespoon of dried Italian seasoning 1 teaspoon of crushed red pepper 1 Tablespoon of "no-chicken" broth powder 1 teaspoon of garlic powder 1/2 cup drained cooked navy beans Blend until smooth (see above). Stir into the dry mixture with clean hands and work the dough until you can easily divide it into four even pieces (I weighed mine). Cut four sheets of foil, place the sausage on the edge of the foil and roll it up, twisting the ends like a tootsie-roll. Steam for 40-45 minutes. These freeze well and can be sliced and browned as "coins" or ground and used like you would ground sausage. The texture is softer than actual meat sausage, but the flavor is quite good. I often serve these with polenta and sautéed greens. 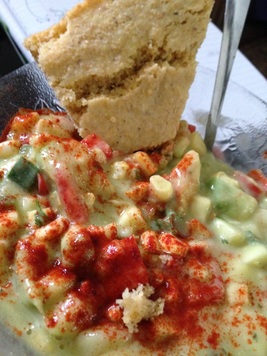
This is so not my creation, but when you can get fresh corn and avocado and it is hot outside, this stuff hits the spot. It's loaded with vegetables, and I don't even bother blanching the corn. So, this is vegan, raw, and gluten free. Get the basic recipe here.
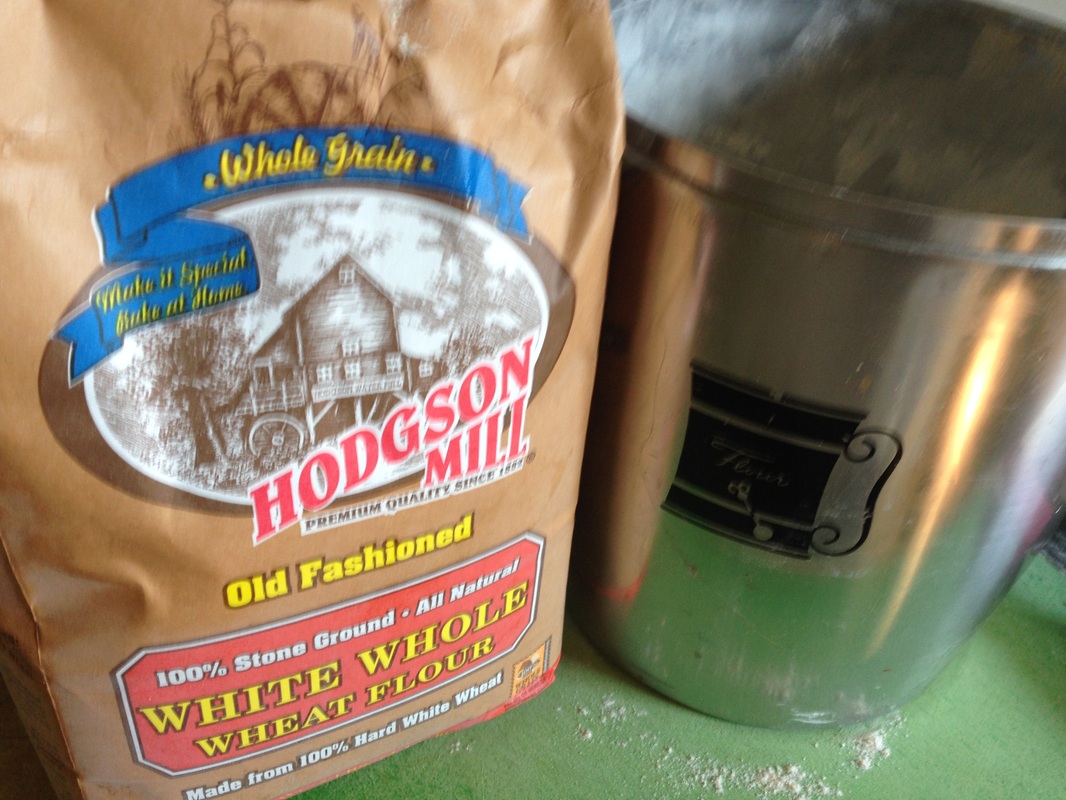
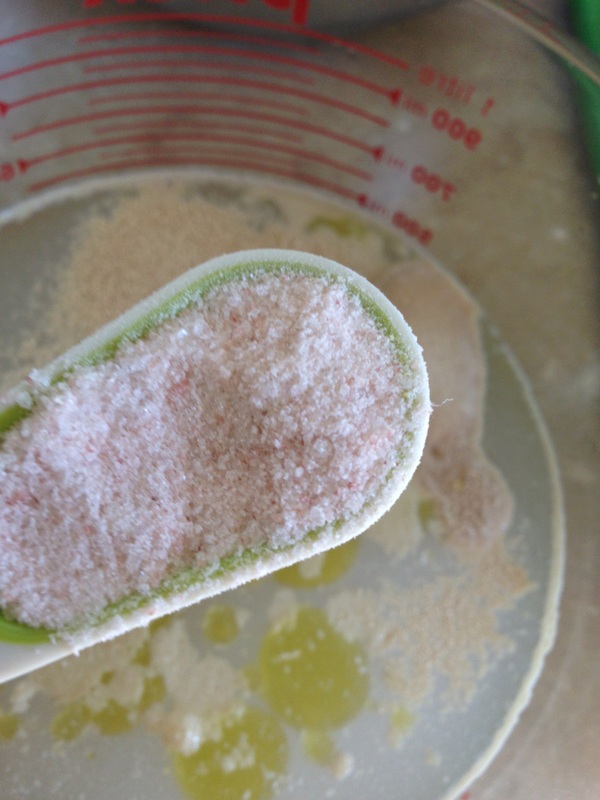
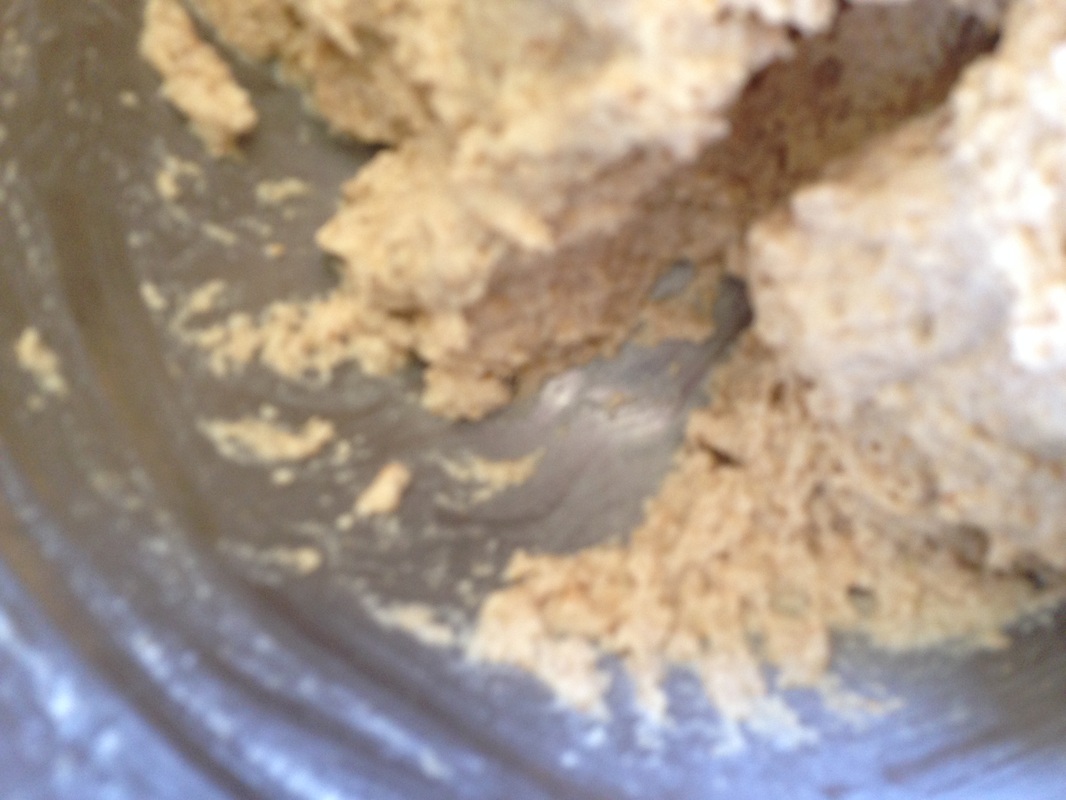
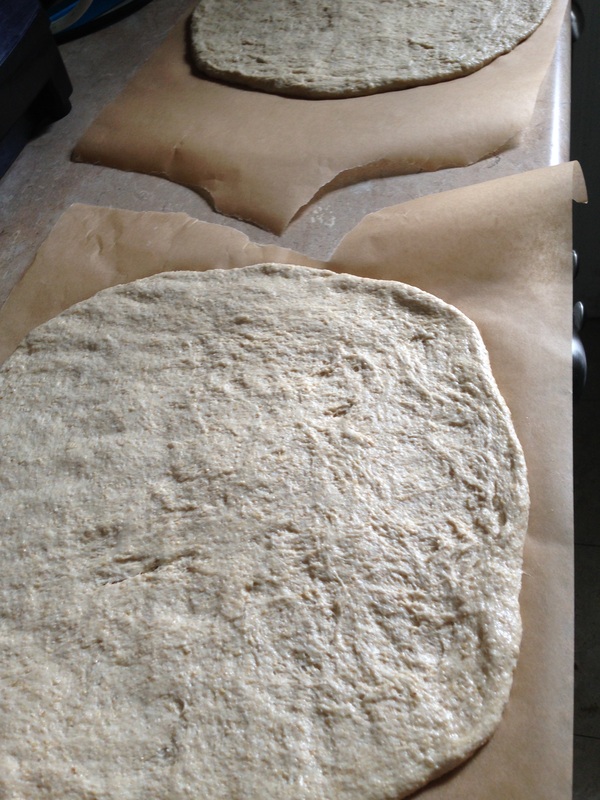
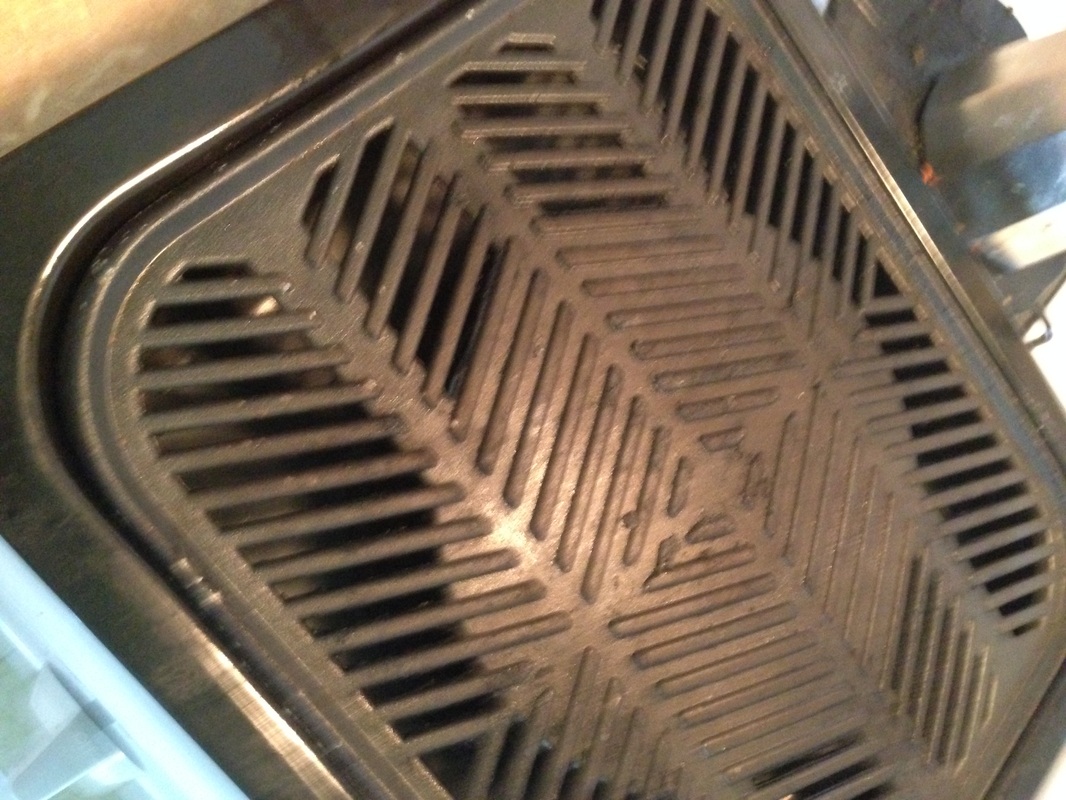
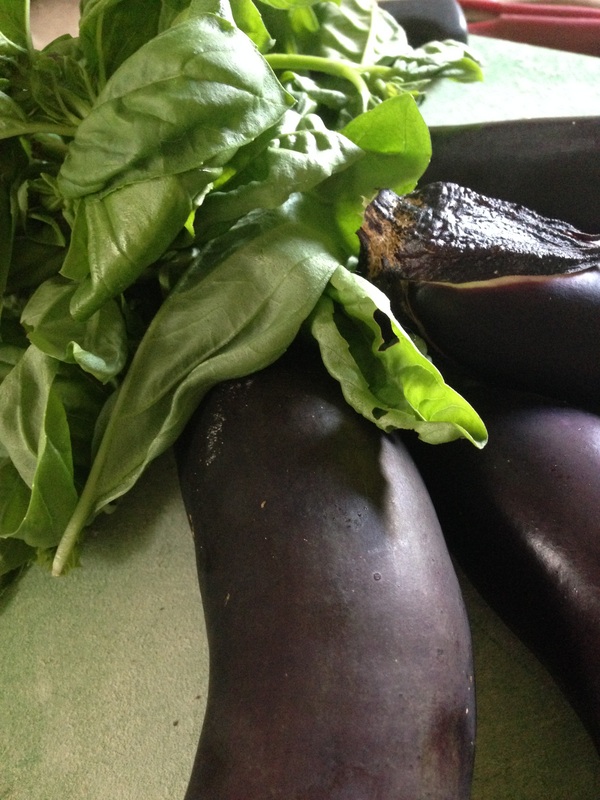
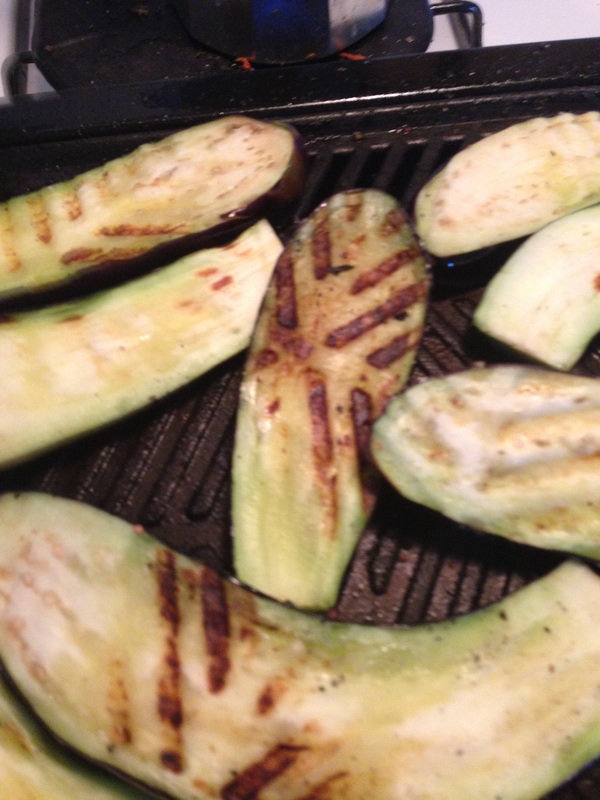
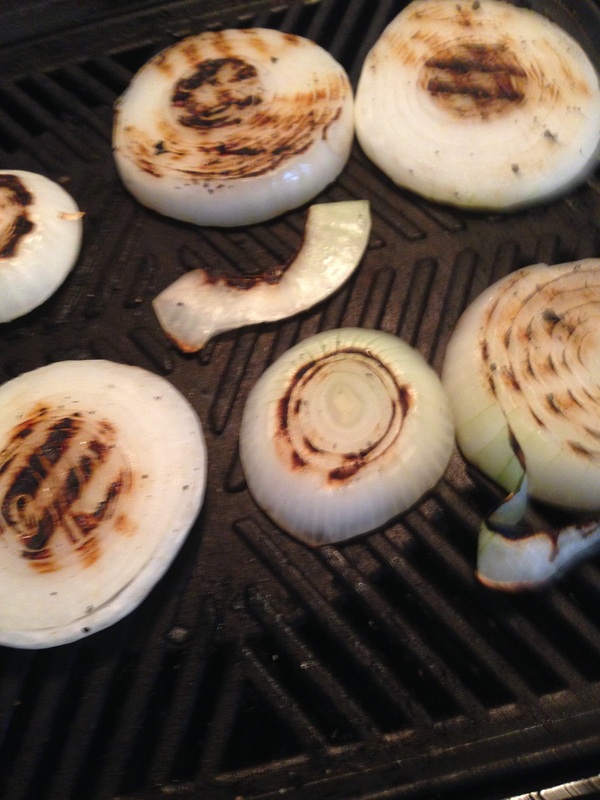
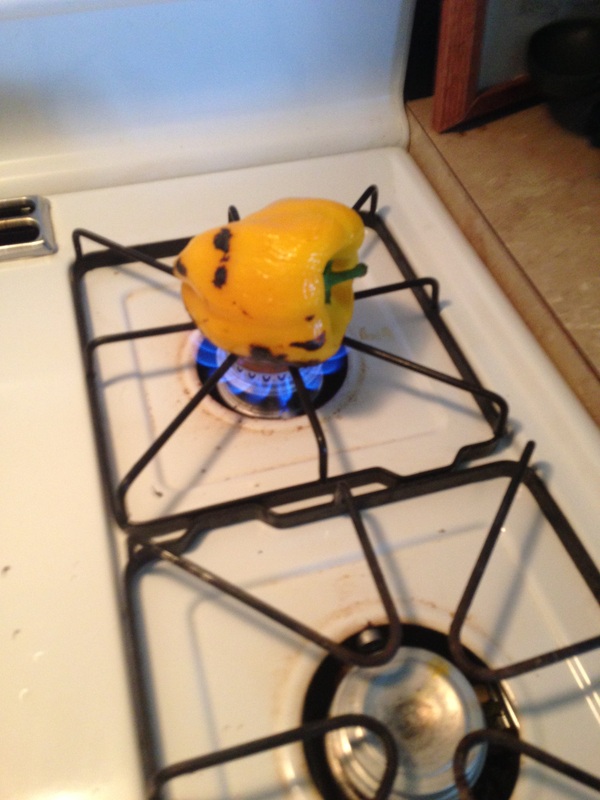
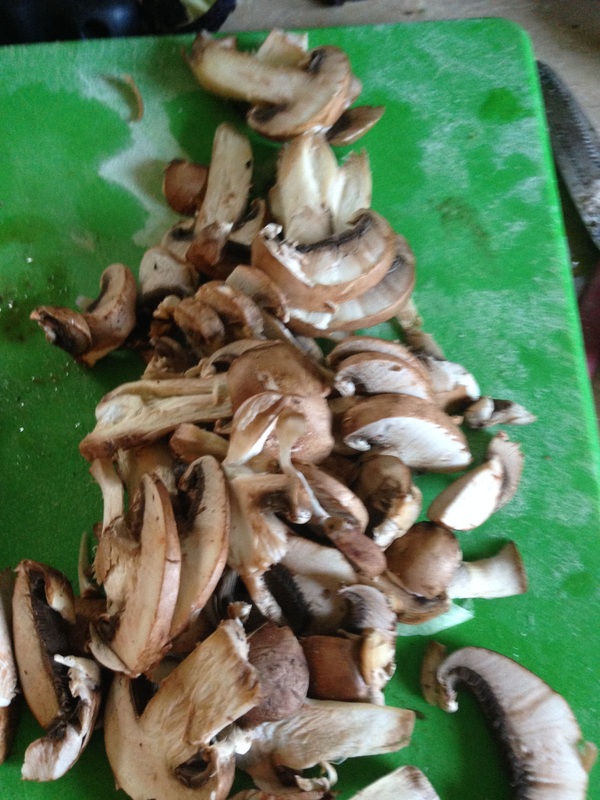
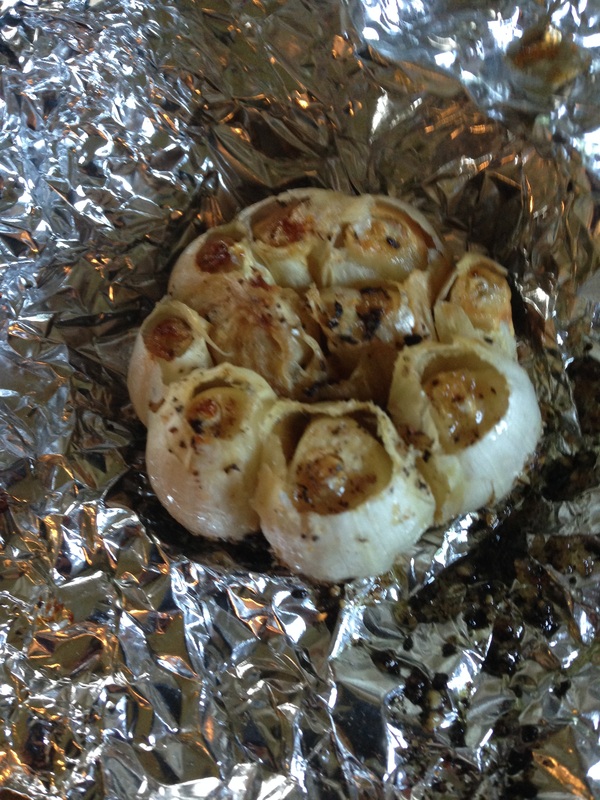
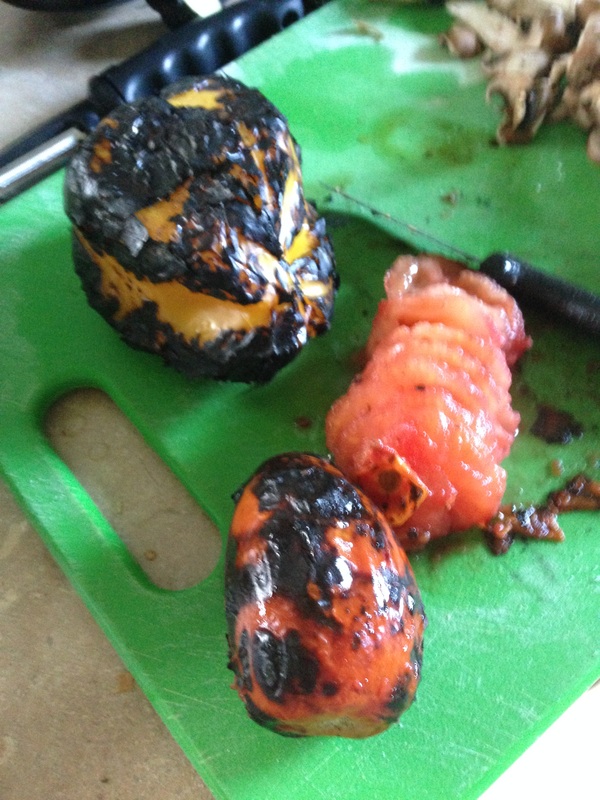
I highly recommend putting smoked paprika on top (that's the red stuff in the photo). I made a pan of vegan Golden Cornbread to go on the side. To veganize Aunt Jemima's recipe, I simply use 1 Tablespoon flax meal in 4 Tablespoons of hot water in place of the egg, olive oil in place of the butter, and unsweetened almond or coconut milk (with about a teaspoon of apple cider vinegar added) in for the milk. I also swapped out the AP flour with white whole wheat. I'm going to be spending some time over at our companion site, Two Fat Sisters. I decided after going in for a check up last week that I need to trim off a few pounds and that I tend to focus a bit to much on the "ish" in "Veganish" lately. I'll pop in here as I go, but you might want to follow me over there if you're interested in my version of Neal Barnard's 21 Day Kickstart. Our basil and eggplant are both doing well, and instead of a curry, I decided to make pizza. Not only did this allow me to get some grilled eggplant going, but it also helped me with my ongoing clean out. I had a bell pepper and a couple of Roma tomatoes that needed to be used, as well as about 1/2 a box of baby bella mushrooms that needed to go. For the crusts, I made my go to no knead dough. In a bowl, put: 3 and 3/4 cups white whole wheat flour 2 Tablespoons of vital wheat gluten In a measuring cup: 2 cups room temperature or slightly warm water 1 teaspoon of salt 1 Tablespoon instant yeast 1 Tablespoon of sugar 1 Tablespoon of extra virgin olive oil Once the sugar and salt are dissolved, stir the liquid into the dry. You don't have to knead this dough. As you can see from the third picture, the dough will be fairly wet at this stage. And that's fine. Cover the bowl with plastic wrap and let the dough rise for a couple of hours in a draft free space in your kitchen. To prep the dough, spread out two pieces of parchment paper. Split the dough in half. Oil your hands and take out one ball of dough, using your hands to press the dough out into a circle. *Note: If you don't want to make two pizzas, simply store the other 1/2 of the dough in the refrigerator for another time. You can also freeze it. Simply take the dough out of the refrigerator a good 90 minutes before baking it off if you refrigerate it. You can shape it cold and let it proof during that 90 minutes. If you don't have a pizza stone, you can simply use a baking sheet or pizza pan. Note, too, that the thickness is up to you--as the dough rests after spreading it out, it will poof up some, so keep that in mind. I love my grill pan. I bought the one above at an Asian grocery store in Jacksonville, Arkansas, but Amazon has one that seems like it is similar if you can't find one of these at your local Asian grocer. These are often used on top of the hot pot burners that use butane, and they are perfect on top of a gas stove, which I am fortunate to have. If you have an electric stove, a standard grill pan should work fine. Of course, if you have standard outdoor grill, that would work too. I also grilled onions and fire roasted the tomatoes and pepper directly on burners. (You can do this with a broiler if you don't have a gas stove or grill to do this on. For a post from Renee on how to do this in the oven, go here). When they were well charred, the pepper and tomatoes when under a stainless steel bowl to sweat for a bit. Then, I removed the charred skin. I chopped the onion roughly. I also sliced some mushrooms and roasted a head of garlic. For the garlic, all i did was cut the top off and remove the excess paper on the outside. I drizzled with olive oil and a bit of salt and pepper and wrapped it in foil. It roasted in the oven while the oven preheated to 450 for the pizzas. *Note: Save the garlic top and the skin of the onion when you peel it. Put those in a freezer bag for the next time you want to make vegetable stock. See Renee's post on this here. Once the pizza dough has had about 30 minutes to rest after you shape it, slide it into a preheated 450 oven for about 10 minutes. I have a pizza stone, so I par baked each for ten minutes on the stone (just leave the parchment paper under them). Top as you like, then bake for an additional 13 minutes. I put one on the oven rack and the other on the stone.
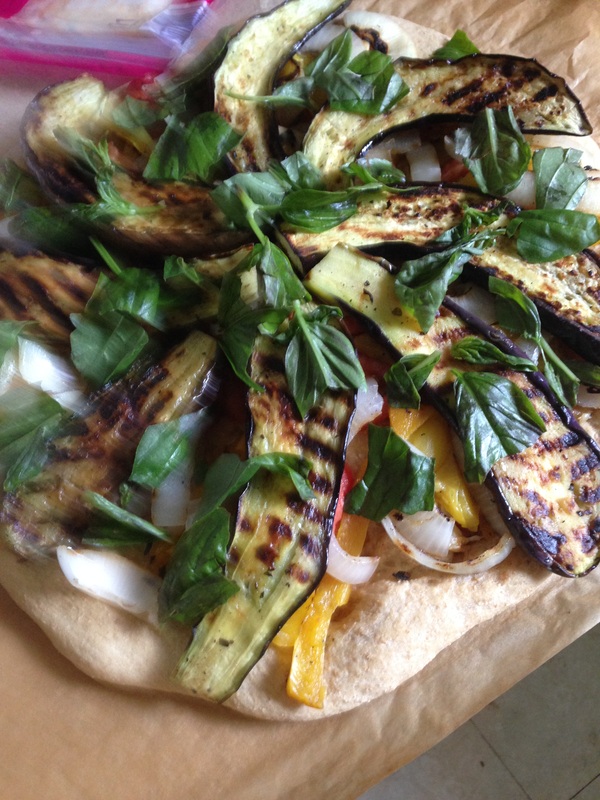
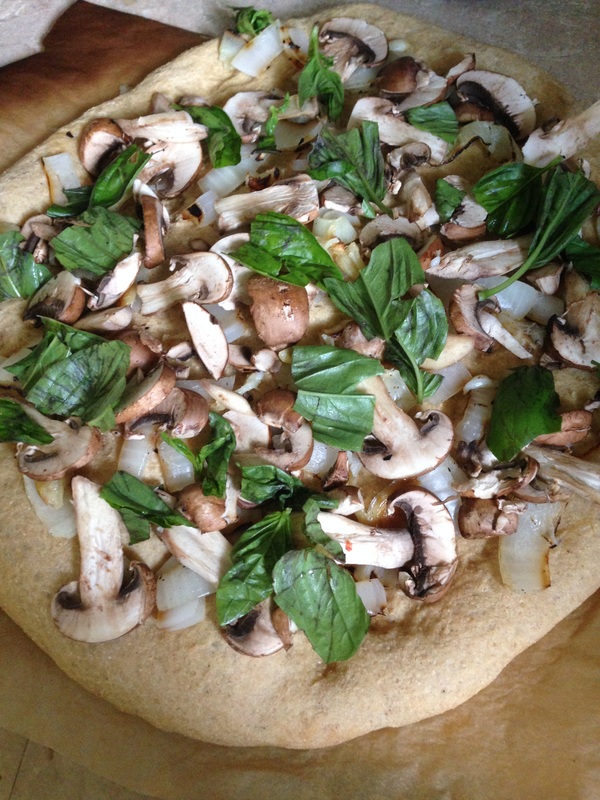
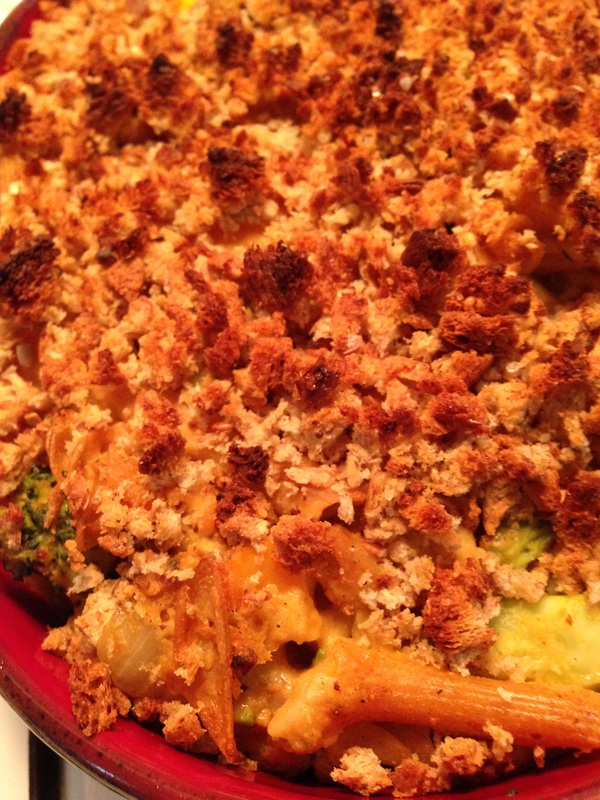
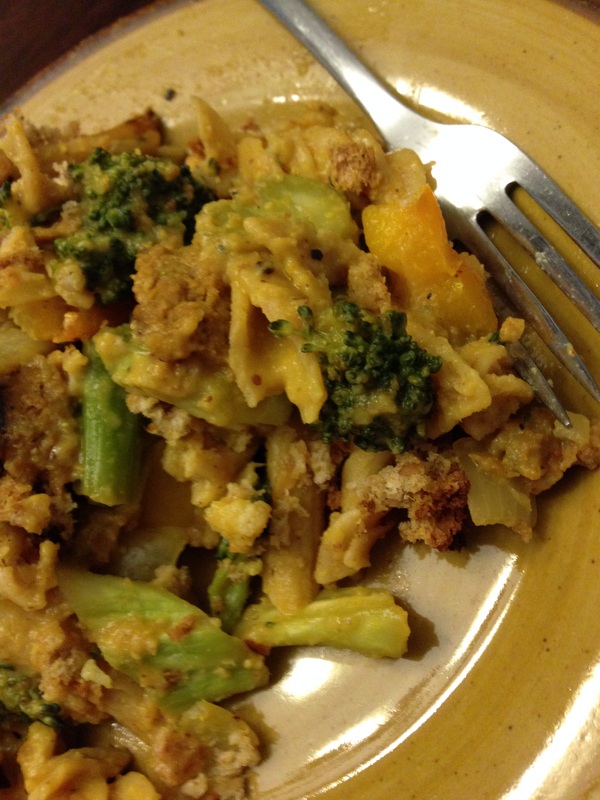
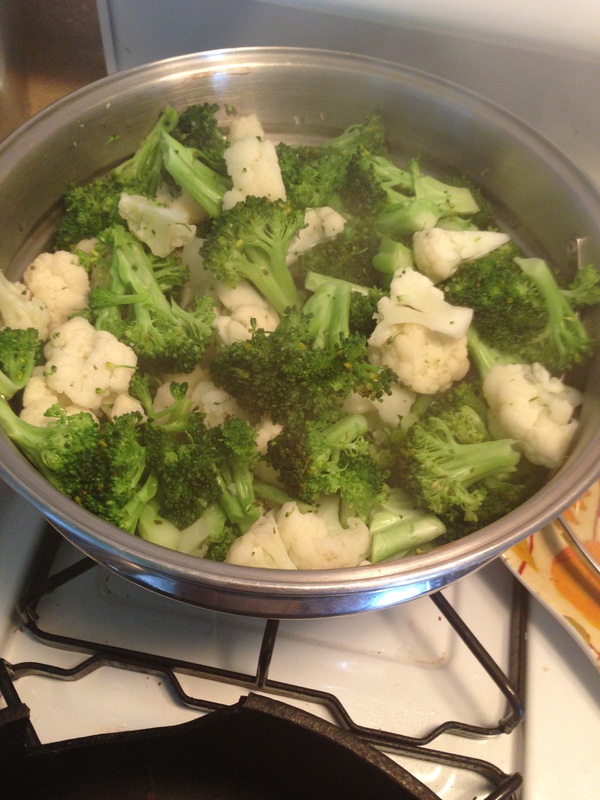
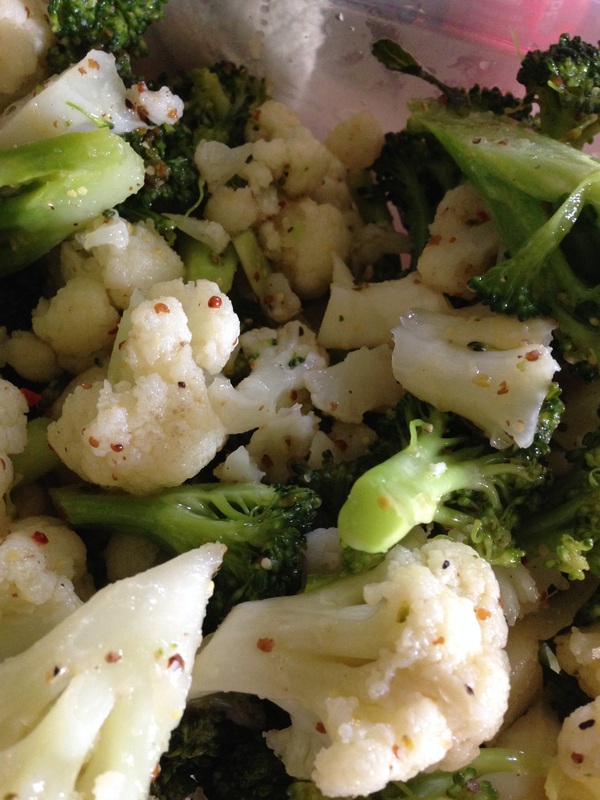
The mushroom pizza had roasted garlic, grilled onions, and sliced mushrooms, along with fresh torn basil. The eggplant pizza had roasted garlic, sliced roasted tomatoes, roasted pepper strips, grilled eggplant, grilled onions, and torn basil. These would be great without any cheese because the eggplant and mushrooms with the grilled onions provide enough texture variety and flavor that you won't miss the cheese. If you want cheese, try a little gouda on the mushroom pizza and some garlic and herb goat cheese on the eggplant pizza before all was said and done. Feta would be a good choice, as would mozzarella. If you want vegan cheese, go for it. If you don't want to cook the basil, just tear some on top before serving. Either way, it will be delicious. I am still on my cleaning spree, so that meant today's cooking adventure involves a casserole. Last week when I got back from my travels, I had a head of cauliflower waiting on me and then I bought some broccoli. Both needed to be used today, so instead of going to the store this week, I decided I needed to work on getting rid of the produce I had. Last summer, I fell in love with Susan V.'s Cheesy Cauliflower Sauce. A head of cauliflower will make close to four batches, so I cut up the entire head and made a double batch of the sauce. I steamed the rest of the cauliflower on top with the broccoli just until they were tender. I also had two servings each of penne and rotini pasta in the cupboard (whole wheat), so I boiled those together (thankfully, they have the same cooking time). I had two vegan andoullie sausages in the freezer, and those got thawed, sliced and pan fried with onions, garlic, and a bell pepper. Once the pasta was cooked just to al dente, I drained it, stirred it in with the sausage and veggies (some of the broccoli went in here, too). I then put in about two cups of the cheesy sauce (I had a good cup or so left over, which went in the fridge for some other use), tasted the mixture and adjusted the levels of salt and pepper, and turned it out into a casserole dish. I then roughly crumbed a couple of pieces of bread, tossed that with olive oil and seasoned salt, and spread it on top. This later went in a 375 degree oven for about 30 minutes. The remaining broccoli and cauliflower that I steamed went into a mixing bowl and was dressed with a basic vinaigrette of 3 Tbls. of apple cider vinegar, 3 Tbls. of extra virgin olive oil, 1 Tbls. of maple syrup, a good teaspoon of coarse mustard and 1 tsp. each of garlic and onion powder. I also threw in a pinch of crushed red pepper and some salt and pepper. Mix with the cauliflower and broccoli and chill. This will get eaten later this week. 
I know it has been awhile. I was traveling, first to Michigan for graduation and our annual conference, then off to Port Aransas to meet up with my mom, two sisters, and my nephew Ben and his wife Shelley and the kids. So, that's my excuse for a couple of the weeks I've been absent.
I think that Ben, who is a meat lover, was afraid that if the old aunties did the cooking that we'd make him eat vegetables. So, in order to ensure I had something to slap on a sandwich or scoop on a salad, hummus was the natural choice. He did roast the peppers for this one, and I did get him to try some Cauliflower Ceviche on his bratwurst on a bun, and he announced that it was edible. Roasted Red Pepper Hummus Yields approximately 3 cups (easily halved) 2 roasted red peppers, peeled and seeded (save the juice) 3 cloves garlic 3 cups cooked chickpeas (if you are using canned, that's two 15 ounce cans), drained (reserve the juice in case you need more liquid) 1 lemon, juiced 1 teaspoon of ground cumin 1 teaspoon salt 1/2 teaspoon pepper (or more to taste) 1 Tablespoon of olive oil In your blender or food processor, start with the garlic to chop if finely. Throw in all but 1/2 of one of the peppers, the chickpeas, seasoning, lemon juice, and the reserved juice from the peppers. Pulse and then blend/process until smooth. If there isn't enough liquid, use the liquid from the chickpeas to thin things out. Chop the reserved 1/2 roasted pepper and place on top of your plated hummus. Serving ideas: Serve with raw vegetables, with chips, pita, or even as a sandwich spread. I had a few hummus sandwiches in the sandwich press last week, and I enjoyed it so much I ordered a new sandwich maker for the house (I confess, I already had this in my shopping cart at Amazon, but this recipe just reiterated that I needed homemade triangle sandwiches). A couple of years ago, Dani and I made the trek to Atlanta from Little Rock so she could take the clinical skills part of STEP 2. I lived in Auburn, AL for five years and in all those years I never made it to the DeKalb County Farmers' Market. I was so missing out. We saw something on PBS about how the Market helps non-native folks learn English and gives them a job while they learn. That's pretty cool, if you ask me. One of our finds there (there were so many! If you are ever driving through stop and have lunch there where you can pick and choose from their huge hot and cold bars) was the Pigeon Pea. I bought a package and we've been hooked ever since. Pigeon Peas (AKA gandule, gunga, no-eye pea, and toor dal) are round, firm, and fragrant. Here's what I did with them last night. 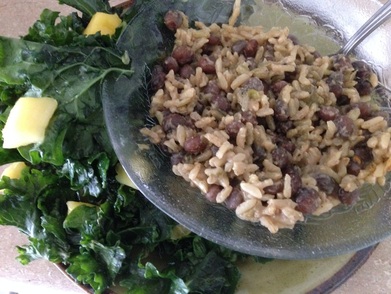 Pigeon Peas and Coconut Rice
Serves 4 1 cup of Pigeon Peas, rinsed and picked over* 3 cups of vegetable stock 5 green onions, sliced 2 cloves of garlic, minced 1 cup brown basmati rice 1/2 teaspoon dried ginger powder 2-3 Tablespoons of "no-chicken" broth powder 1 cup of coconut milk (see my tutorials for how I make my own. You can use canned). 1-2 minced jalapeno or serrano peppers** Put your peas and vegetable broth in your pressure cooker. I let mine cook for 30 minutes at pressure. Drain and reserve 1 cup of the cooking broth. In your pressure cooker, throw in the drained peas, the rice, spices, and onions & garlic. Add the coconut milk to the reserved broth and add that in to the cooker. I then cooked it all together using the brown rice setting (which is pressure for about 25 minutes). *I used my magical pressure cooker. If you are cooking this on the stovetop, soak the peas overnight or use the hot-soak method. Drain the soaking water, and cook the peas until tender and then drain them reserving the liquid and proceed, adding them to your rice pot before cooking. The measurements for everything should work on the stove. ** I had some diced hot Hatch chiles I needed to use, so that's what went in my batch. If you don't like heat, you could get a can of chopped green chiles and use those. The heat level is up to you. I served this with one of my favorite ways to use kale: Massaged Kale Salad with Mango. I only used 1 Tablespoon of olive oil and the juice of a lemon for two bunches of kale from the farmer's market (and no sweetener beyond the mango juice I squeezed from the skins). I also put in two mangoes. I got it a bit salty, but it worked well with the Pigeon Peas. |
Who's dishing?Angel lives in Camden, Arkansas where she writes stuff and sometimes sends it out to other people to read. She used to grade papers, but not anymore. Check out her main site to see what she's up to lately. 
Archives
November 2017
Categories
All
|


 RSS Feed